Note
what I recommend for best look and fit
There is two types of bolts fittings to attach your crankset, for the best look and optimum fit I recommend using Cotterless Axle Bolts. Those are really cheap and any bike shop should have some, they allow the cap to sit flush against the crankset.

Before you start
assess which crankset bolt you have
There is two type of bolts that you can find. Click on the picture to get the right instructions.
For the best look and fit I recommend option 2, you can ask any bike shop about old 14mm bolts
If you prefer a video instruction, check this video on my instagram.
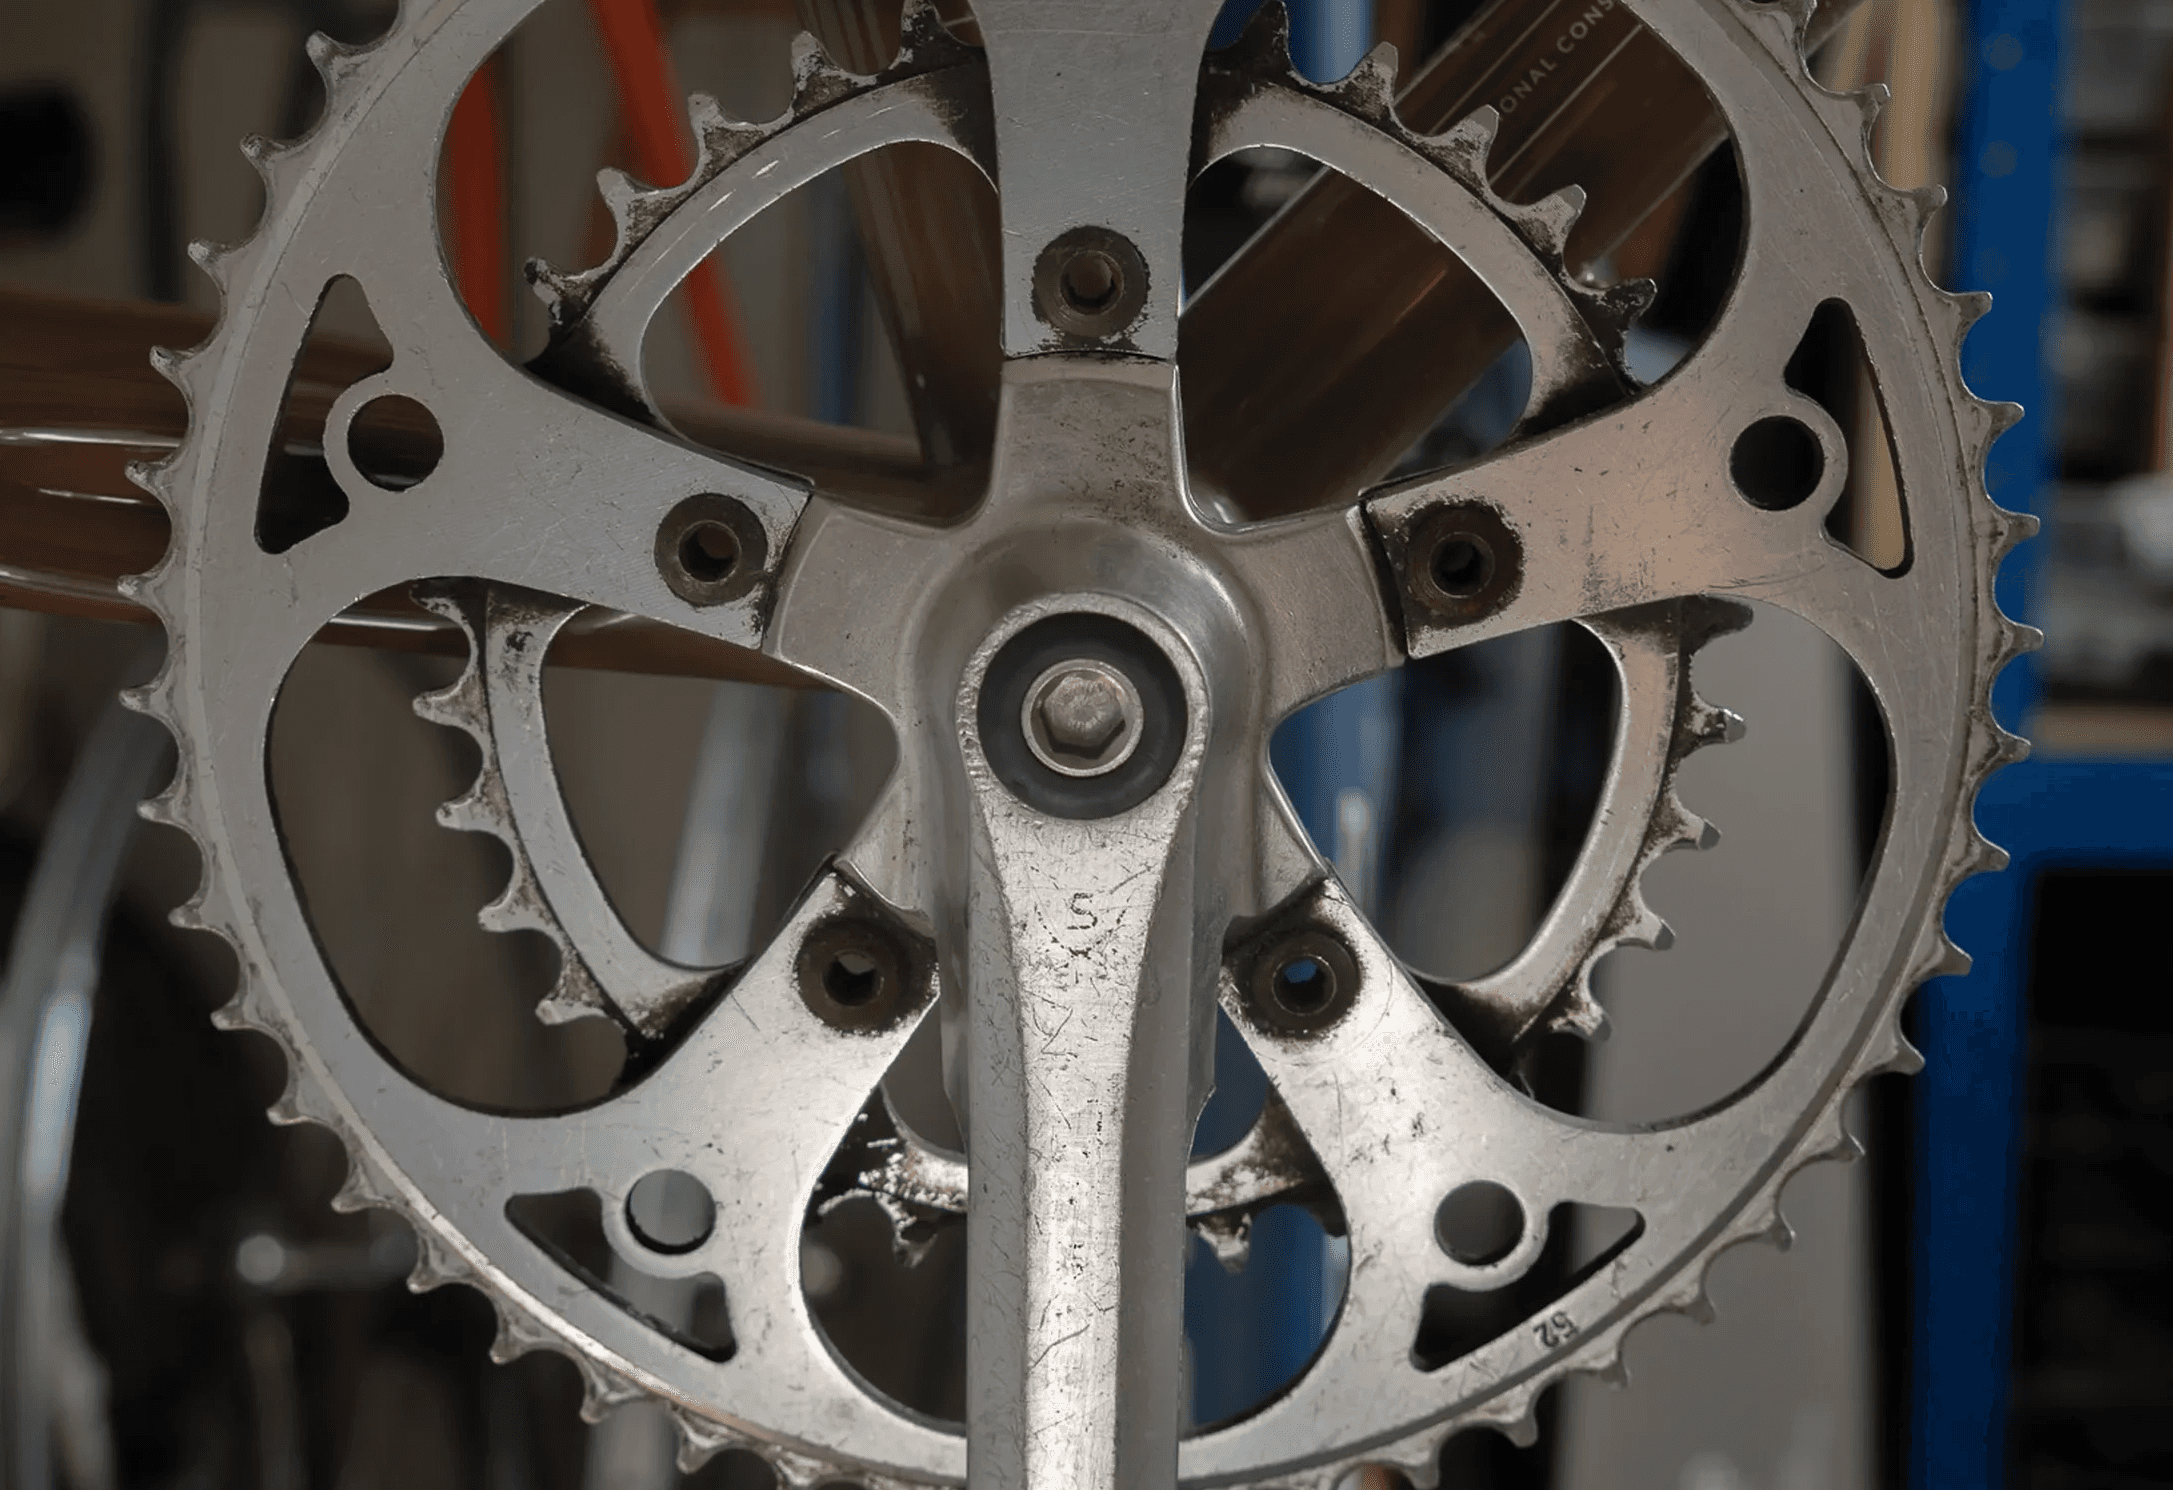
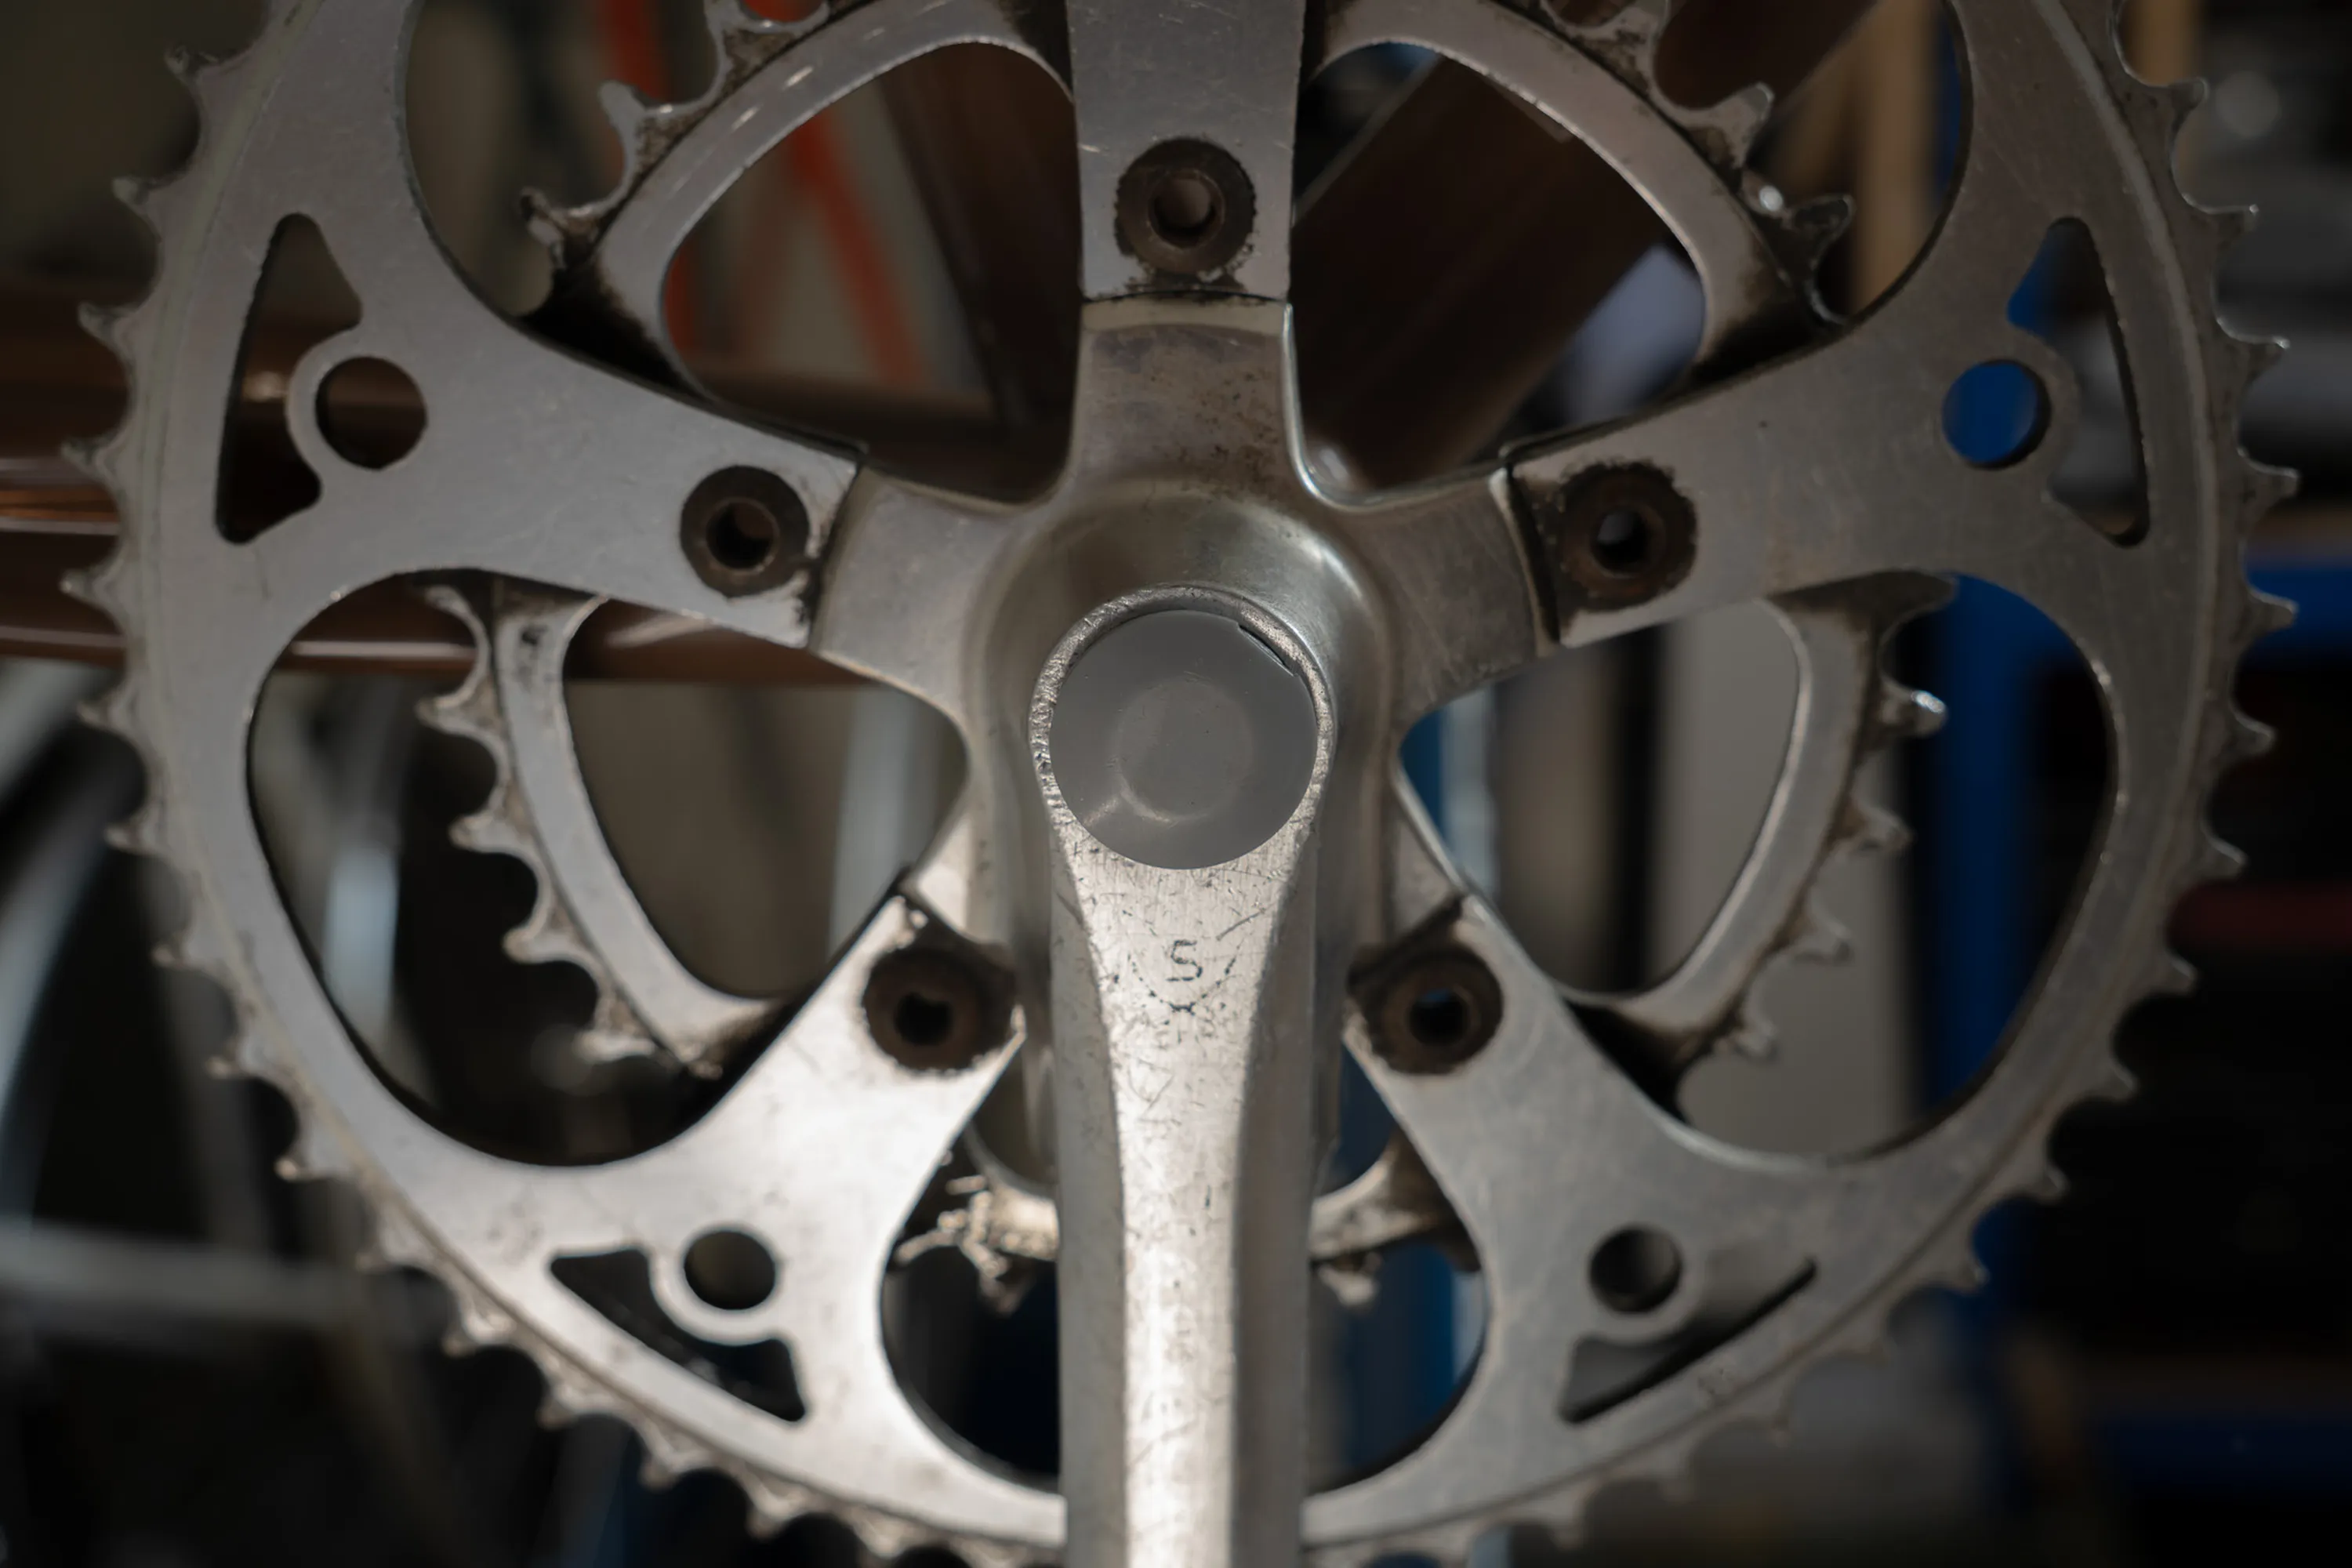
8mm bolt style
Step 01
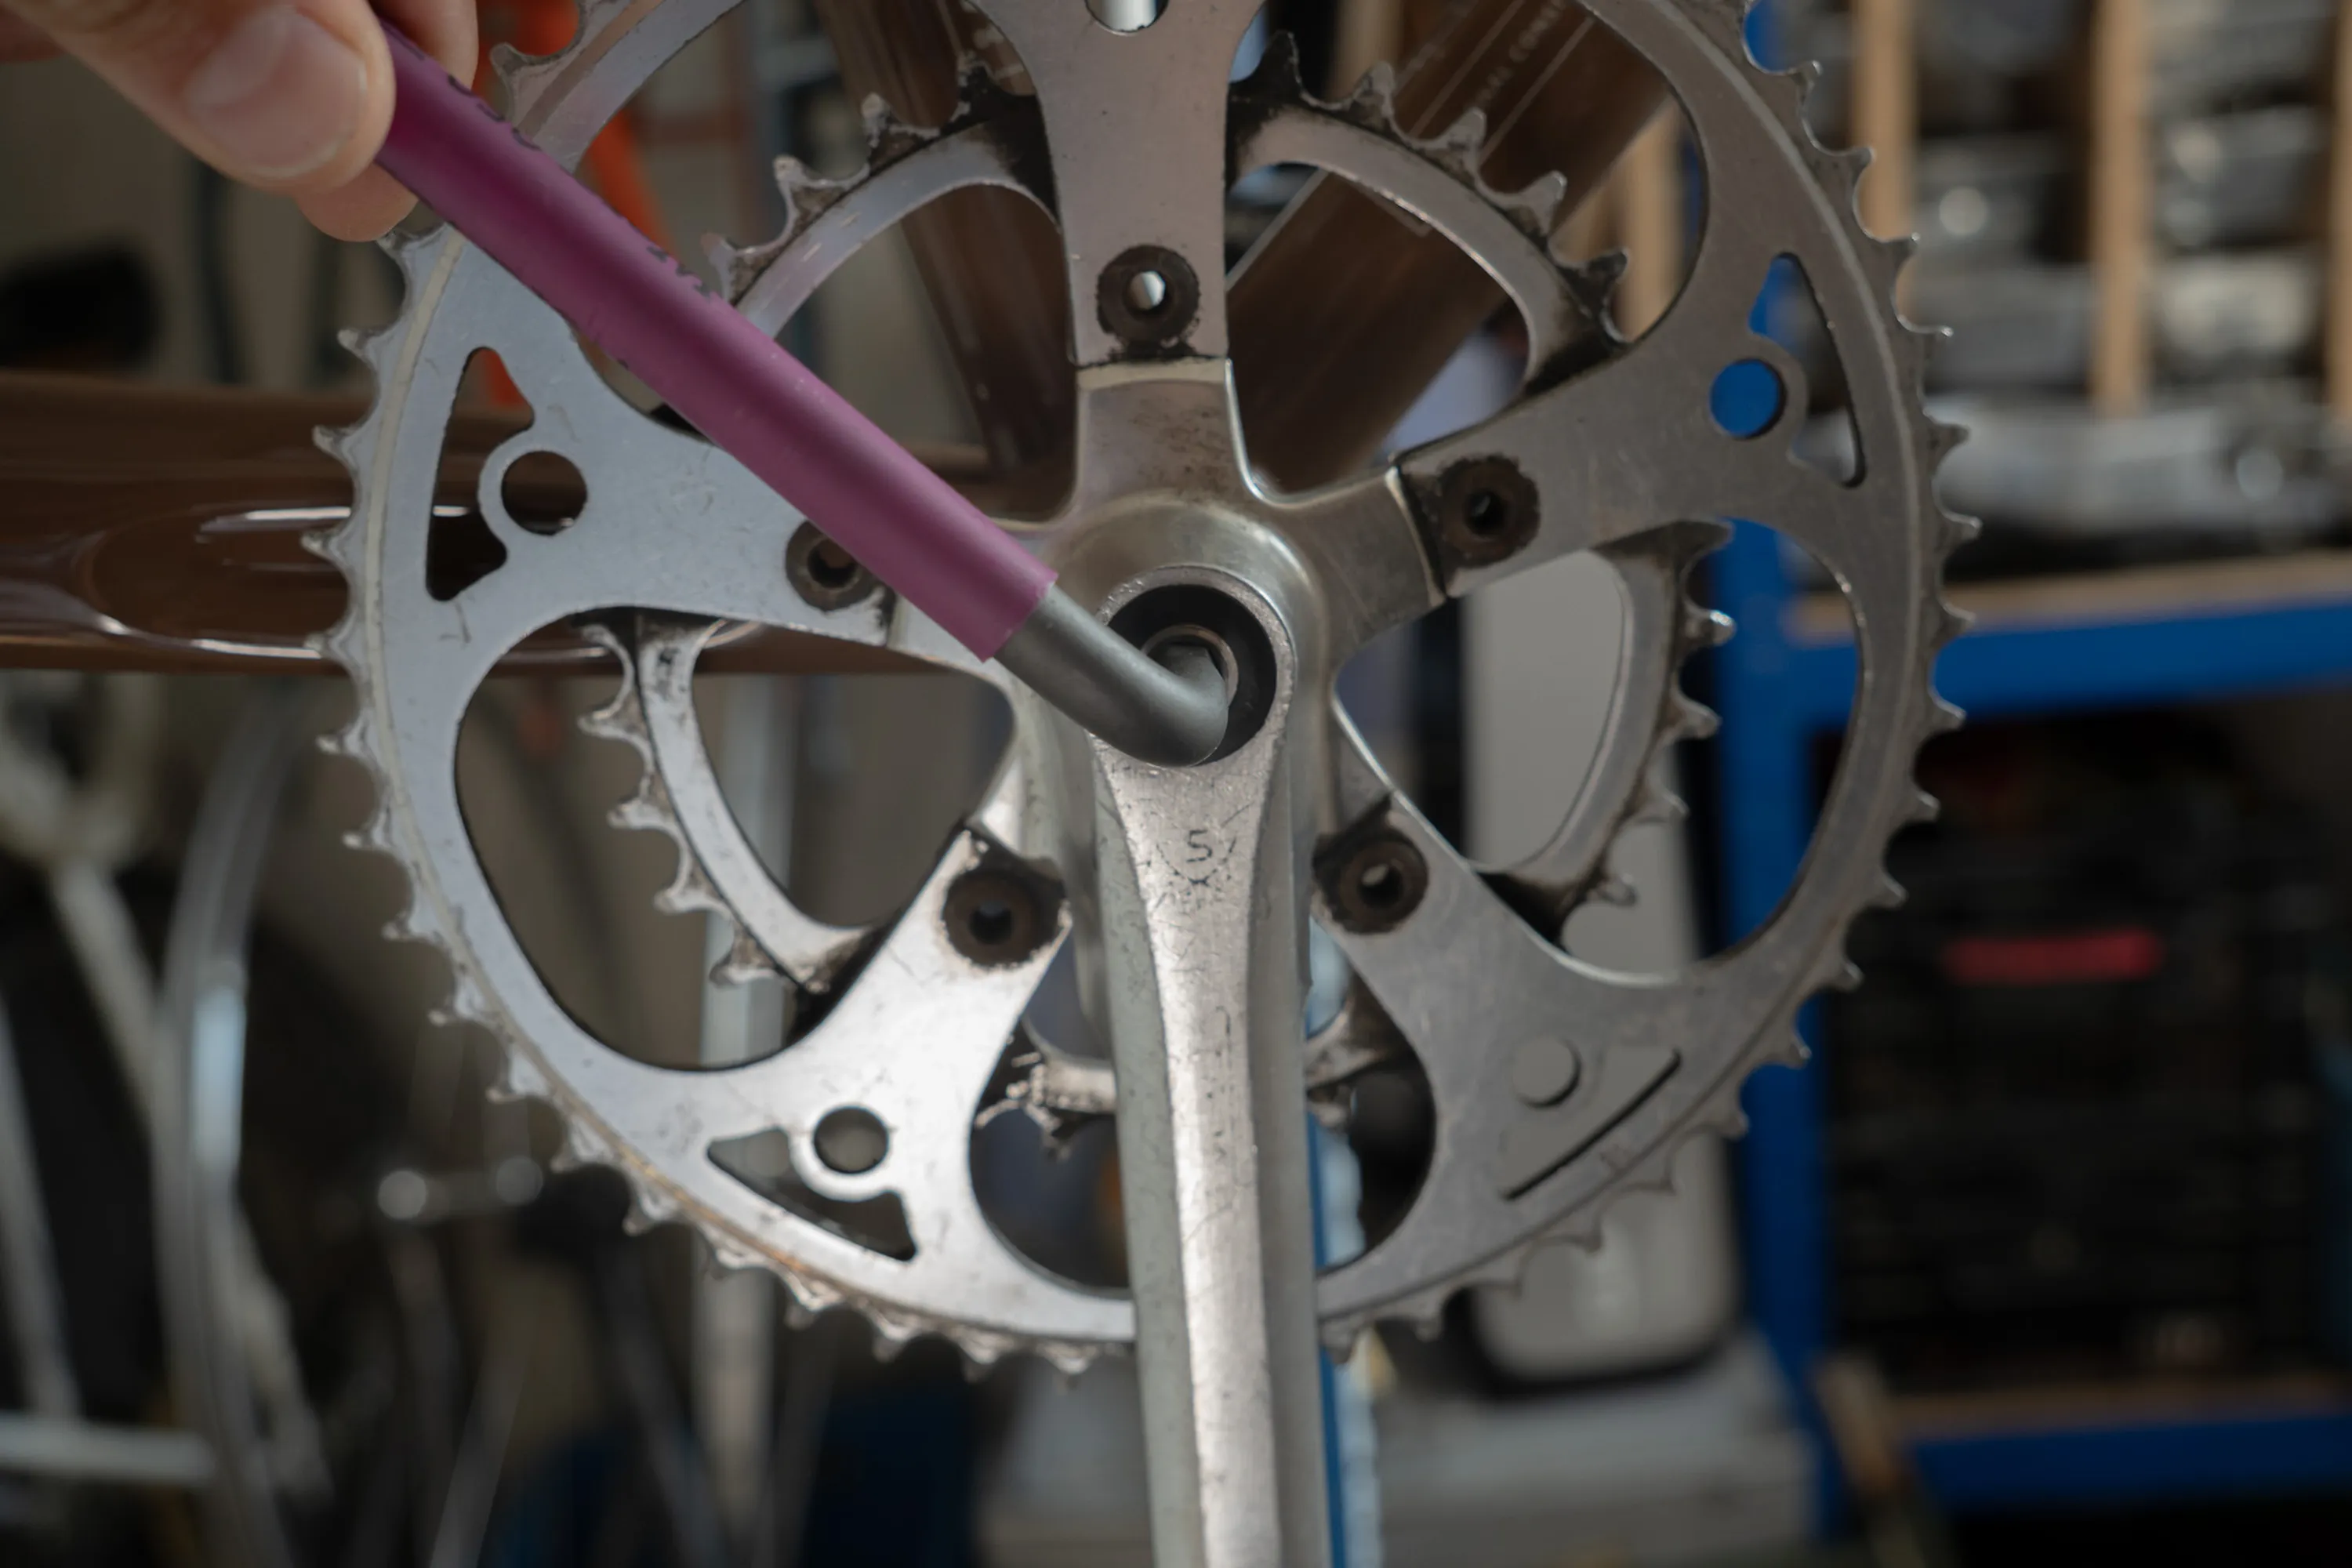
Remove the bolt
Use an 8mm allen key to remove the screw by unscrewing it counter clockwise.
You need an 8mm allen key
Step 02
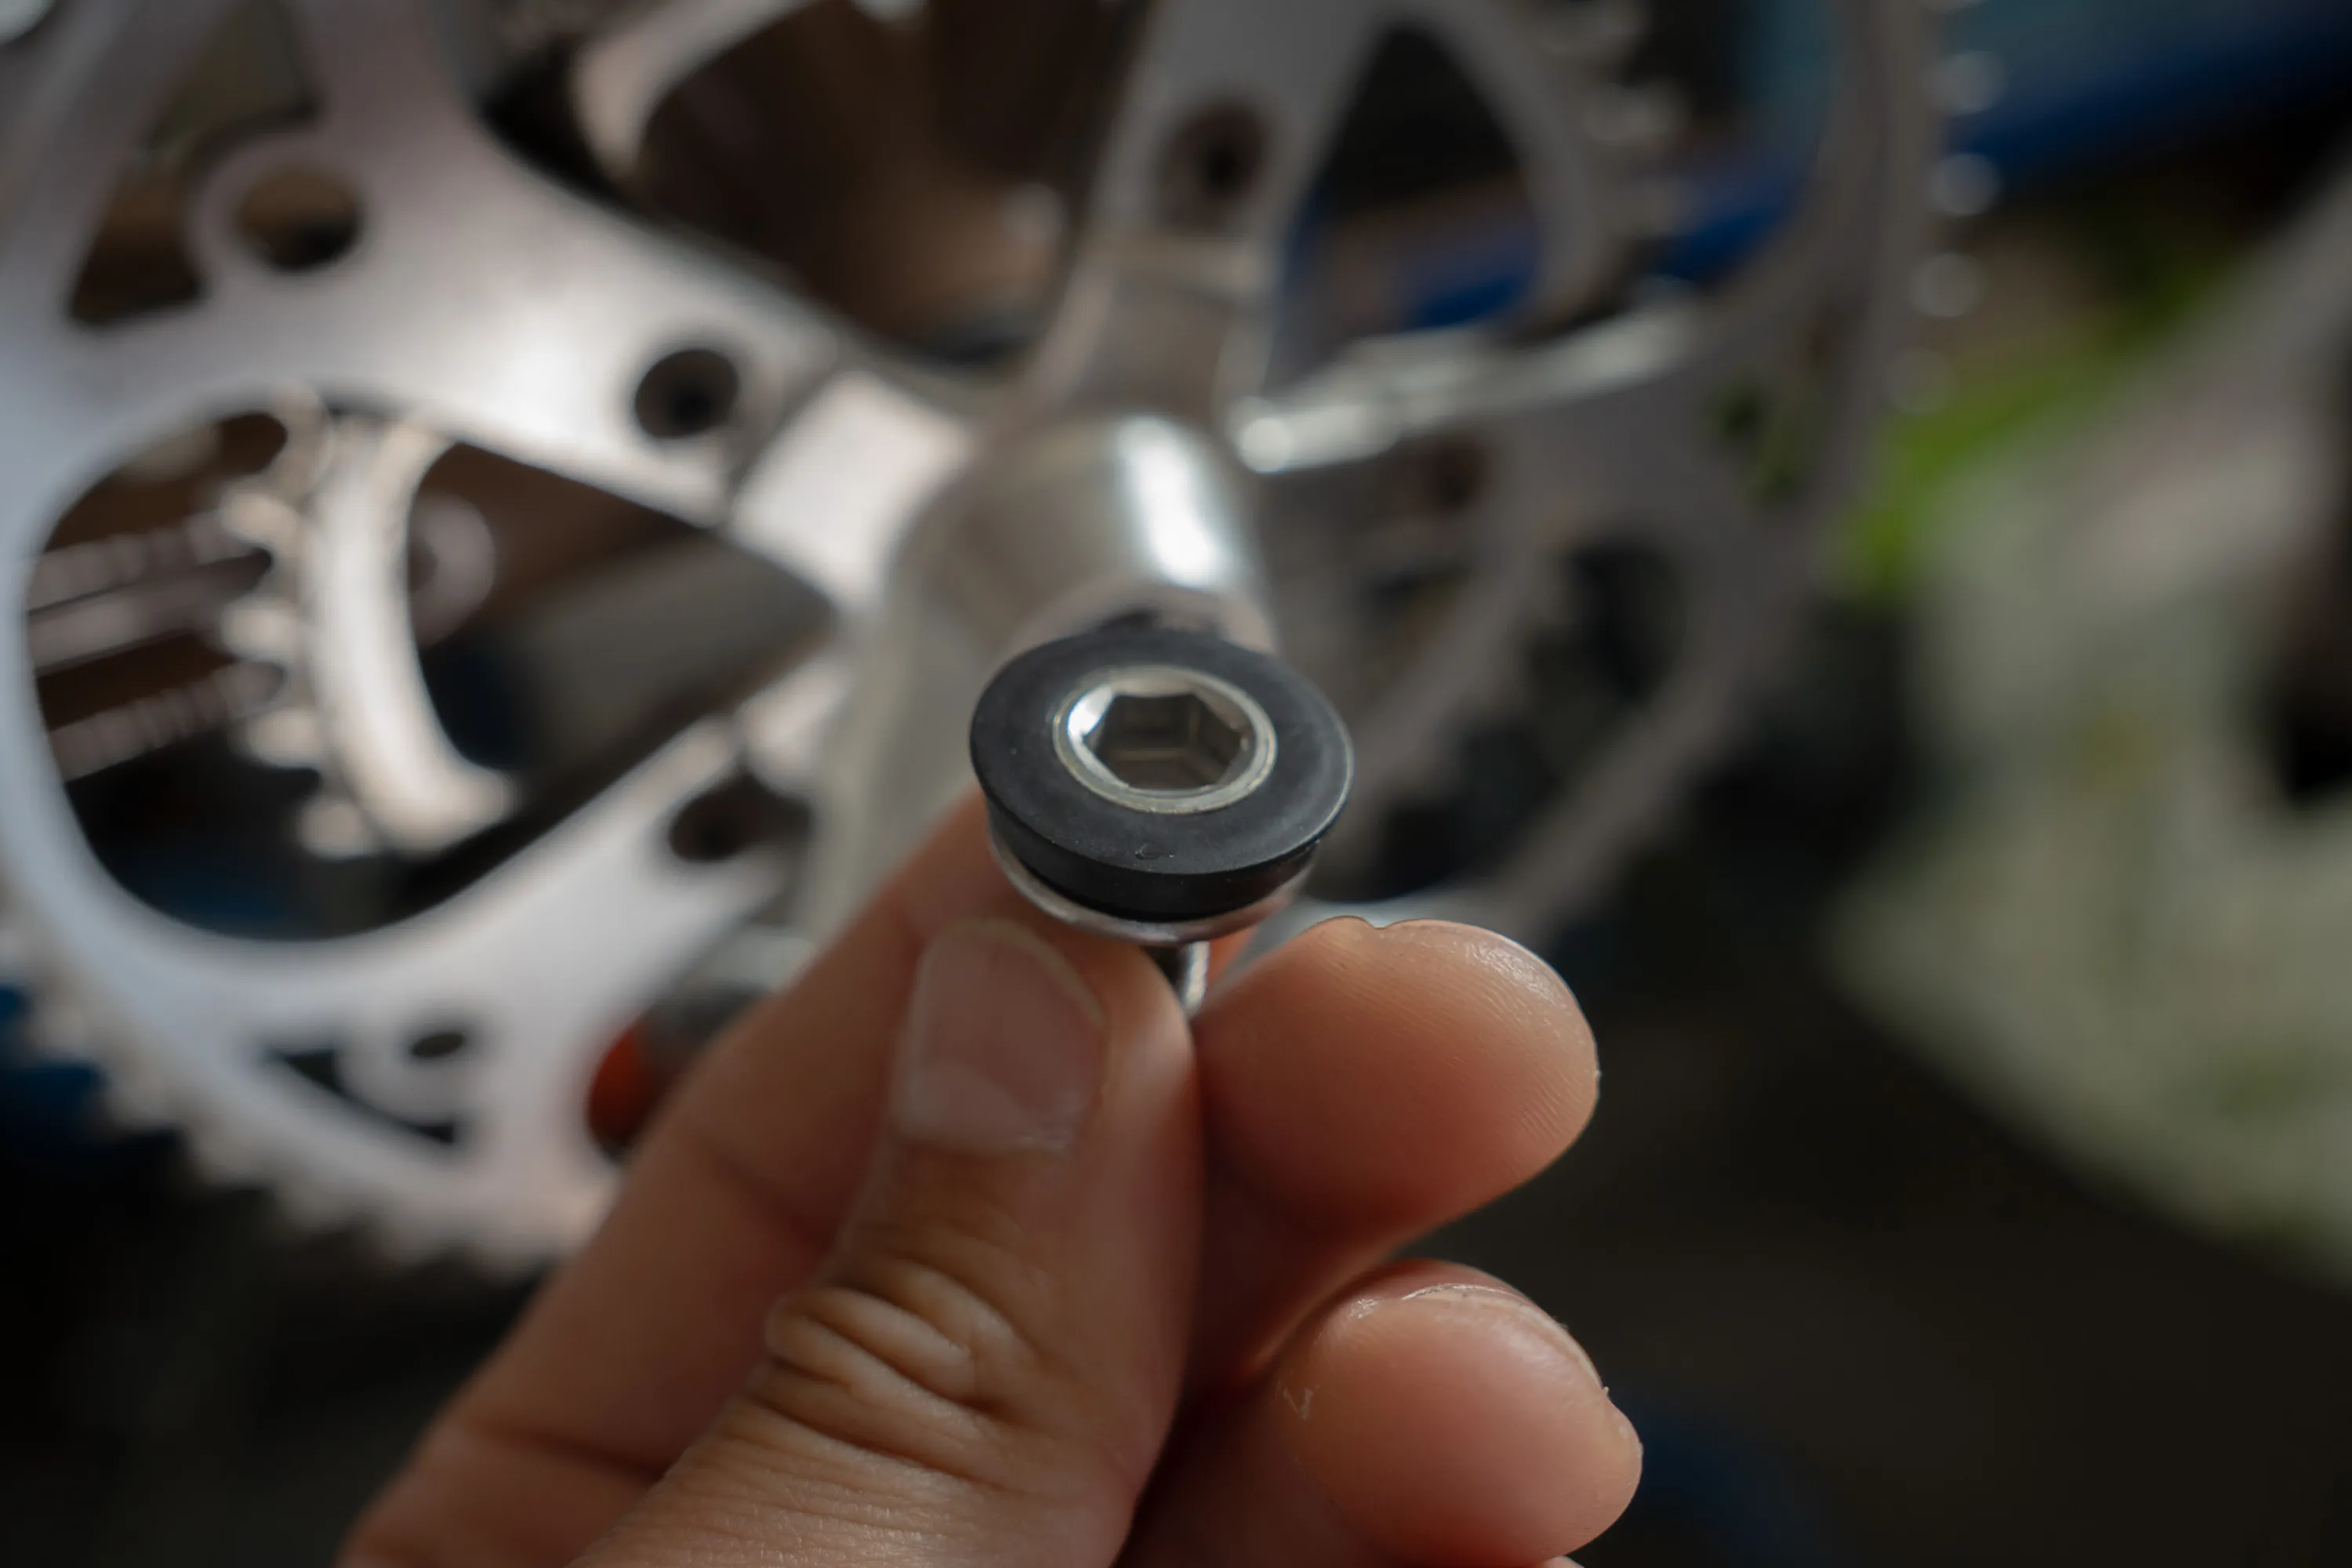
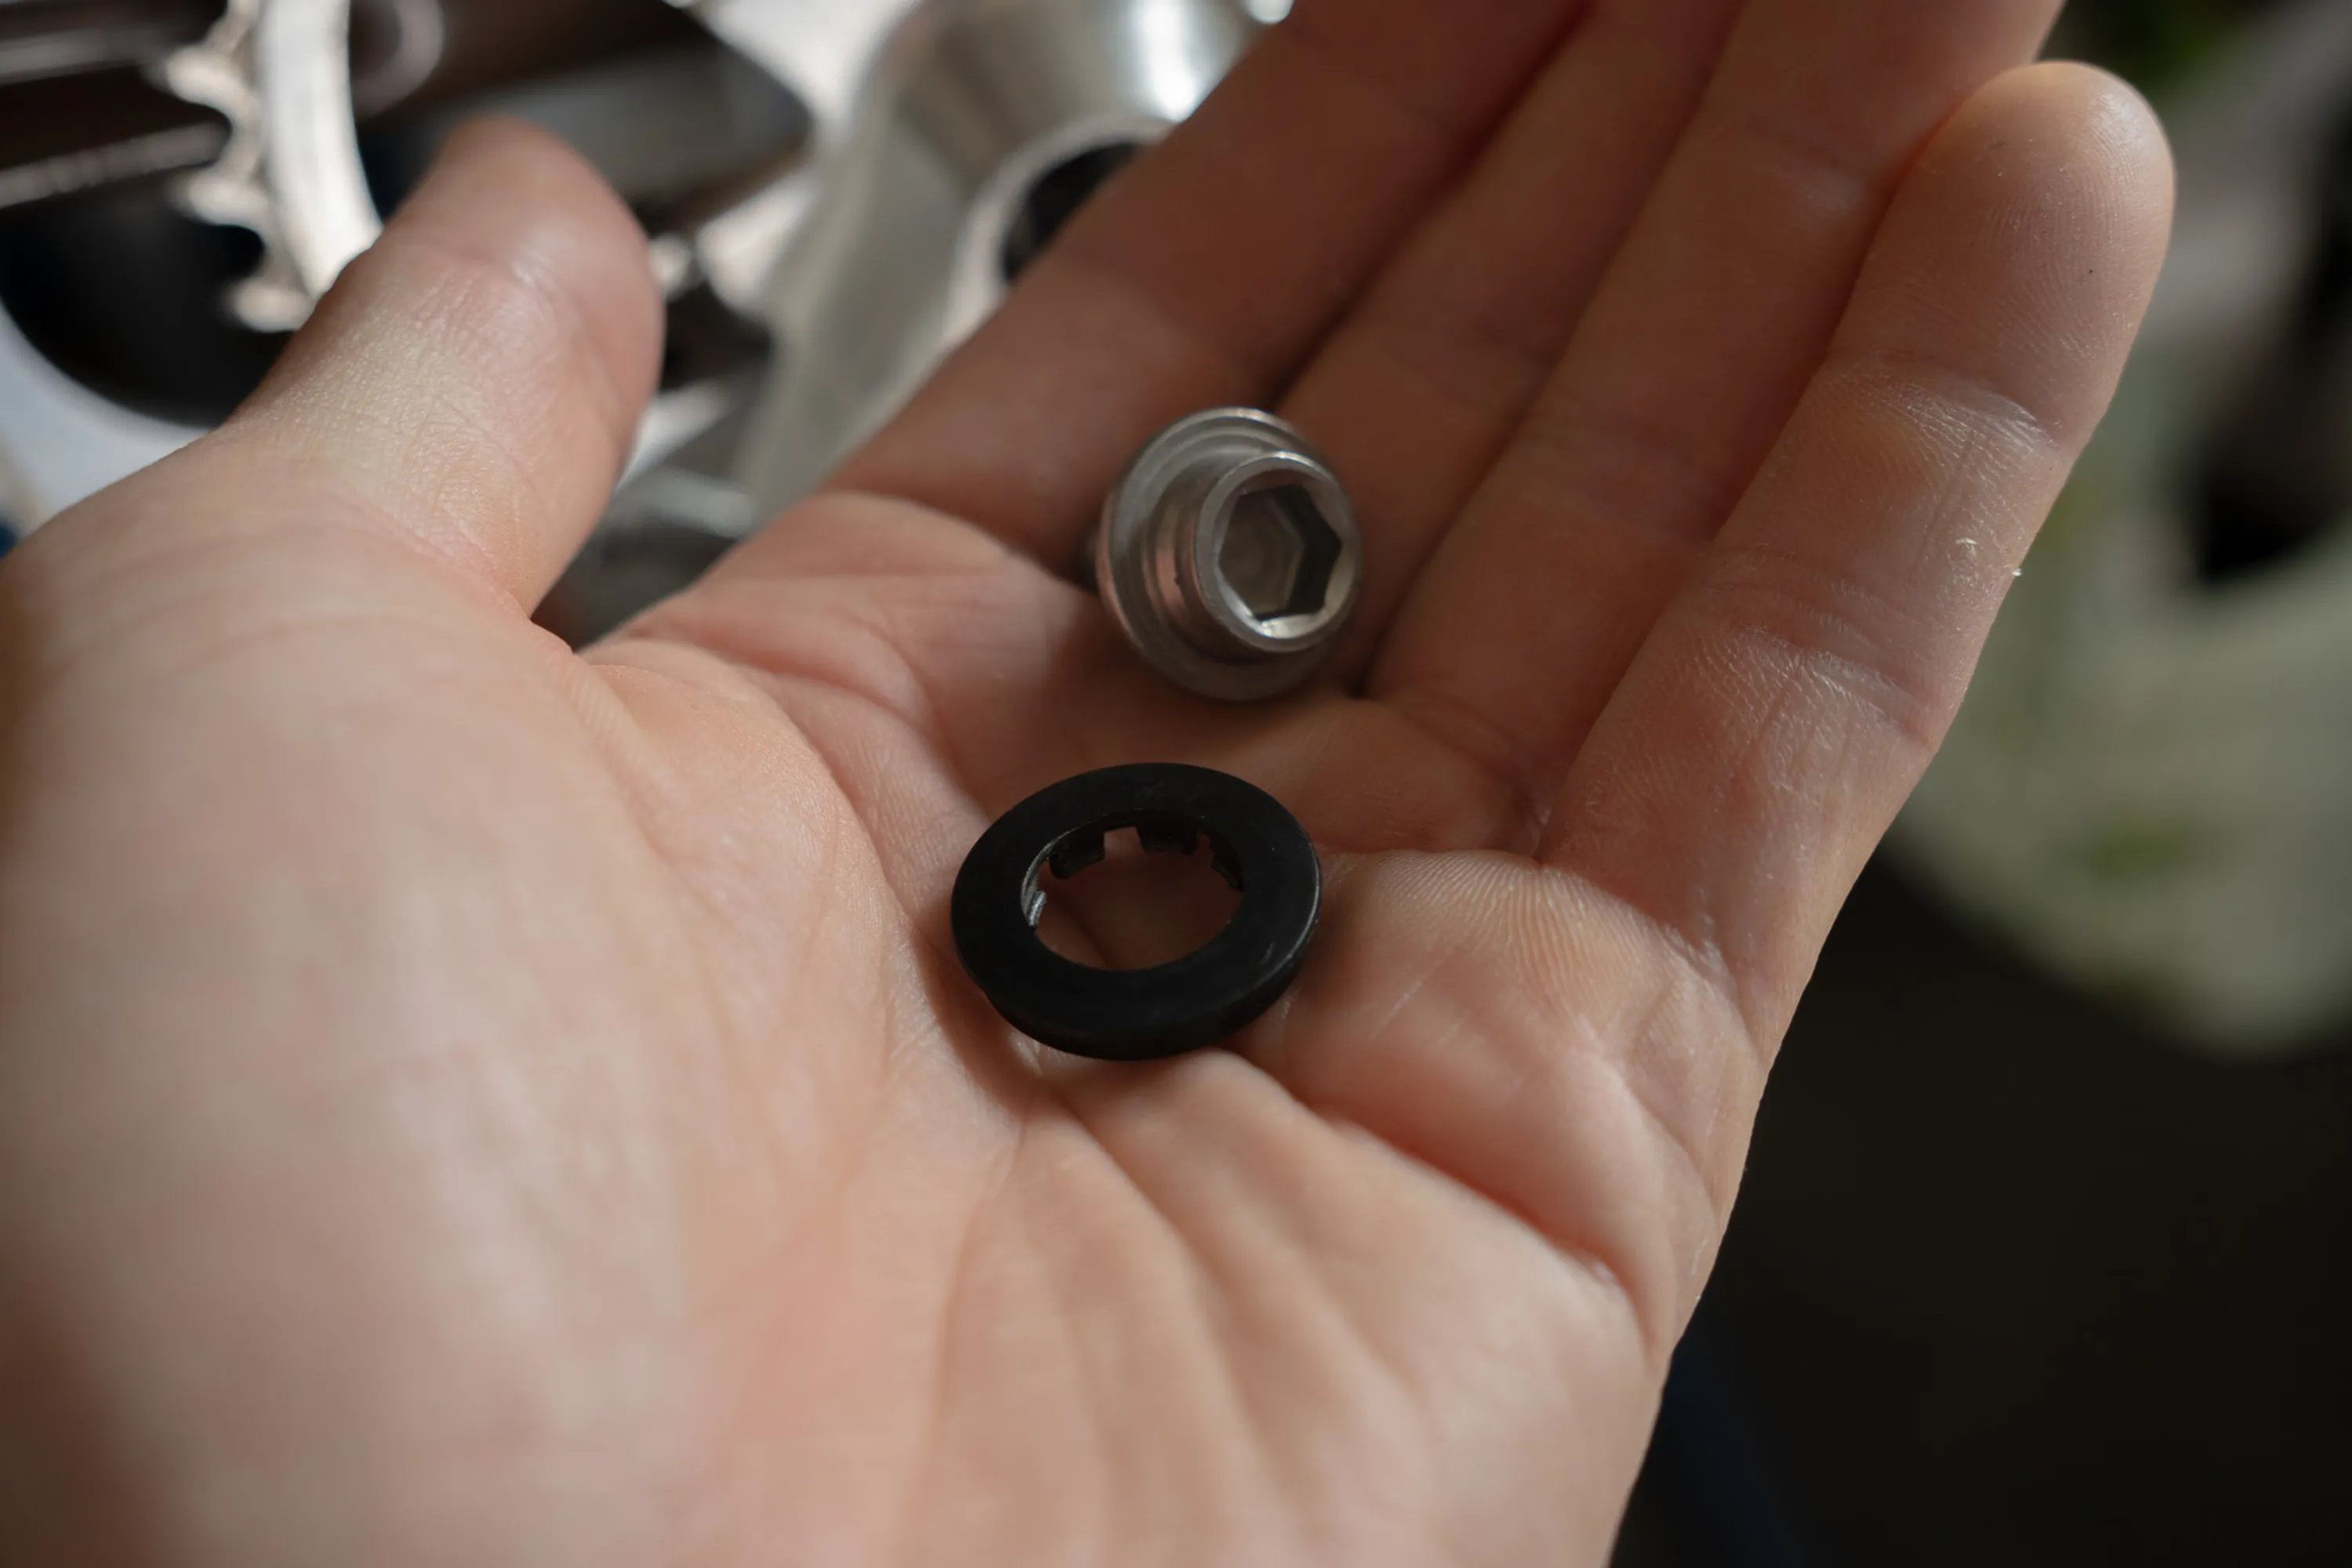
Remove the plastic ring
Now that the bolt is off you can easily remove the plastic ring, it should come off easy.
Step 03
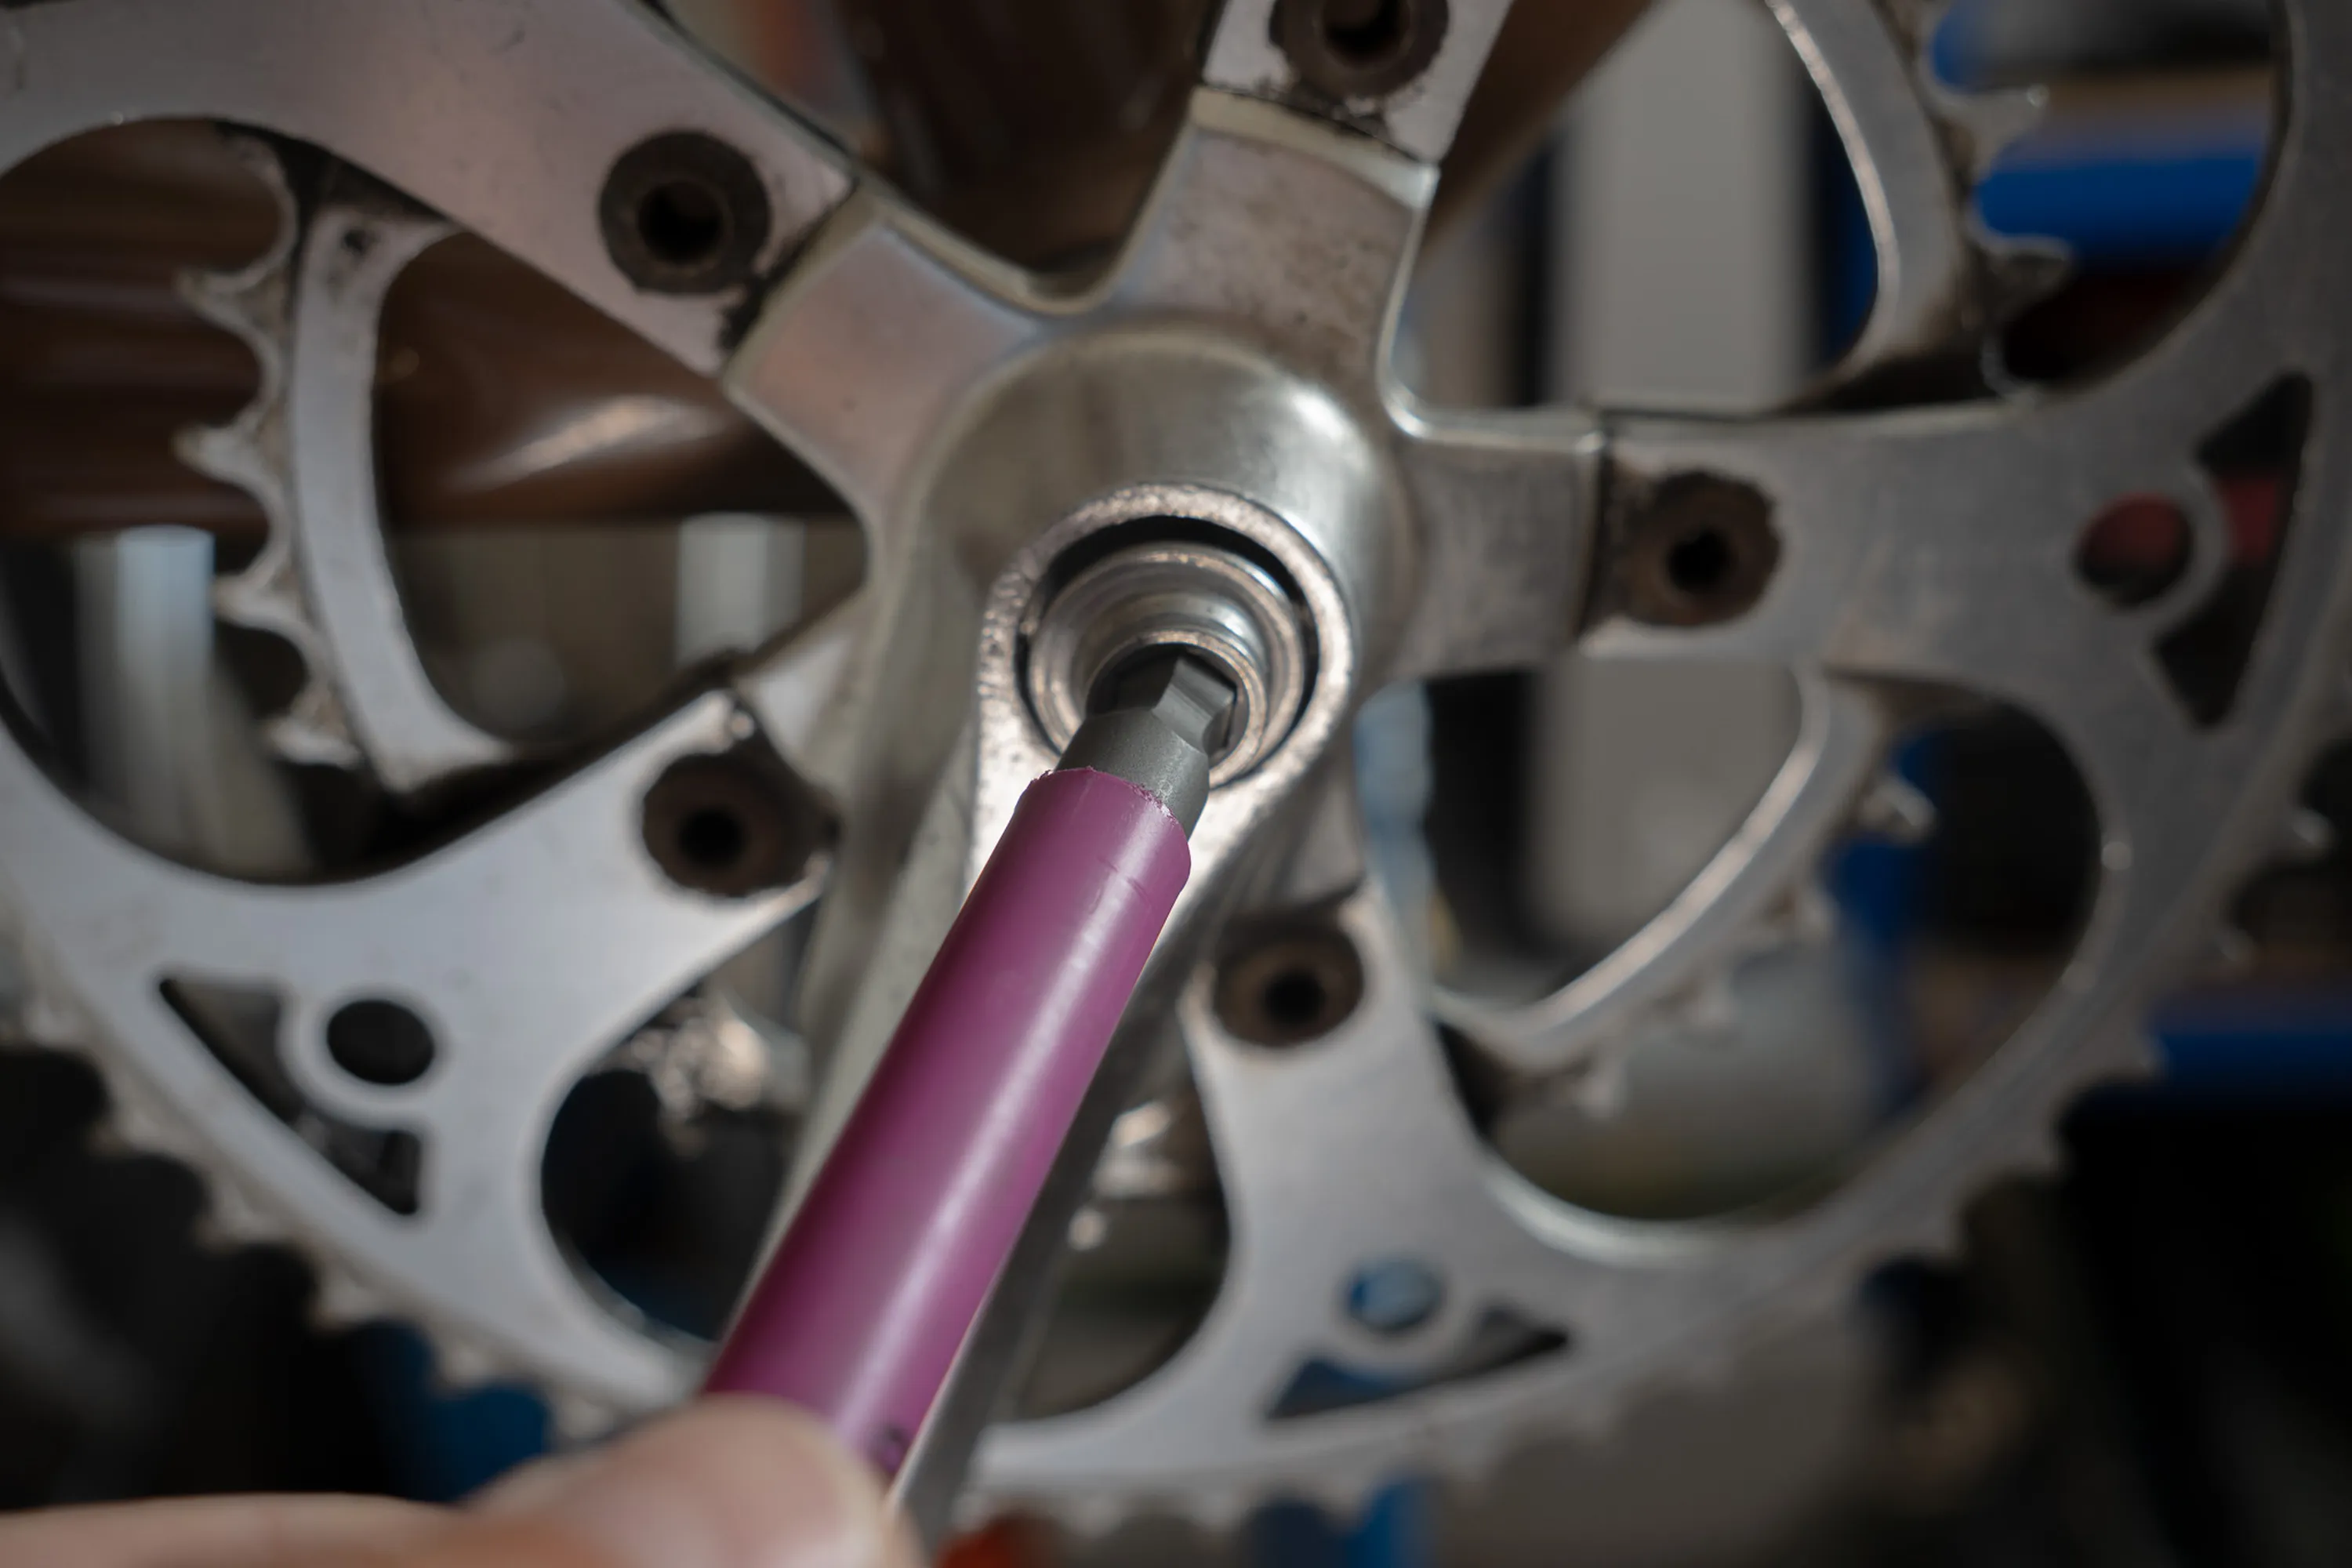
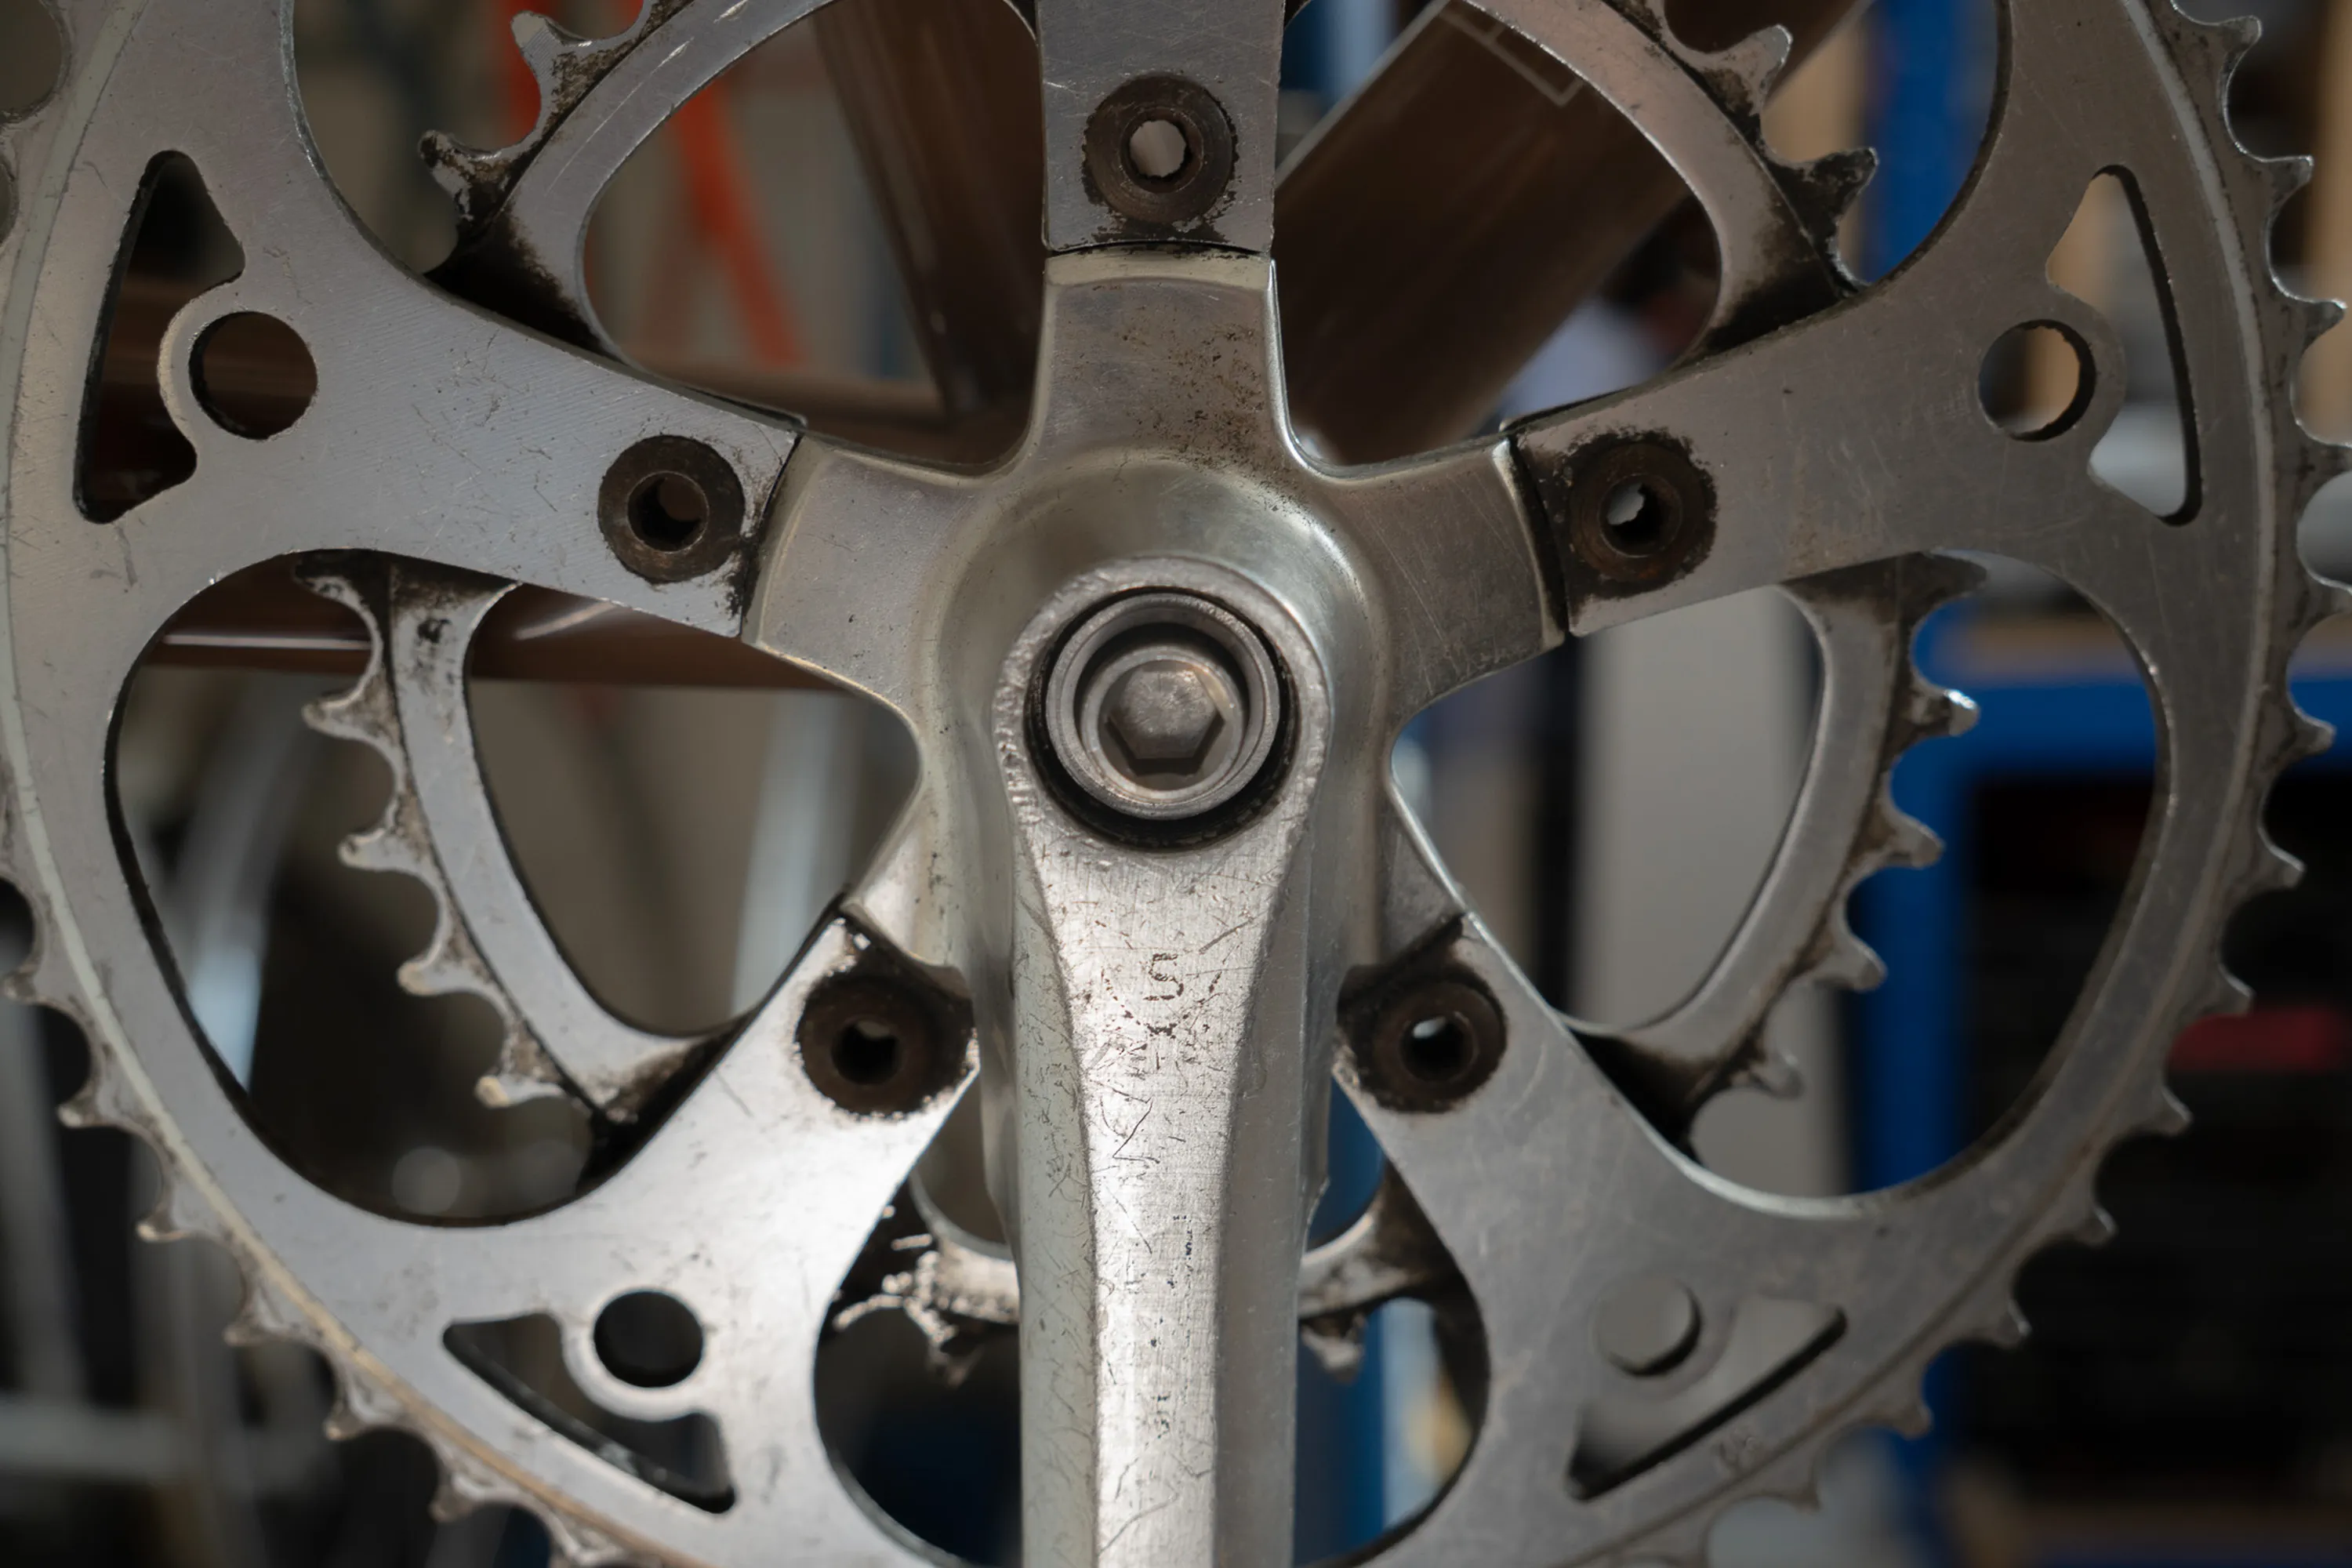
reinstall the bolt
Now simply put back the bolt without its cover.
Step 04
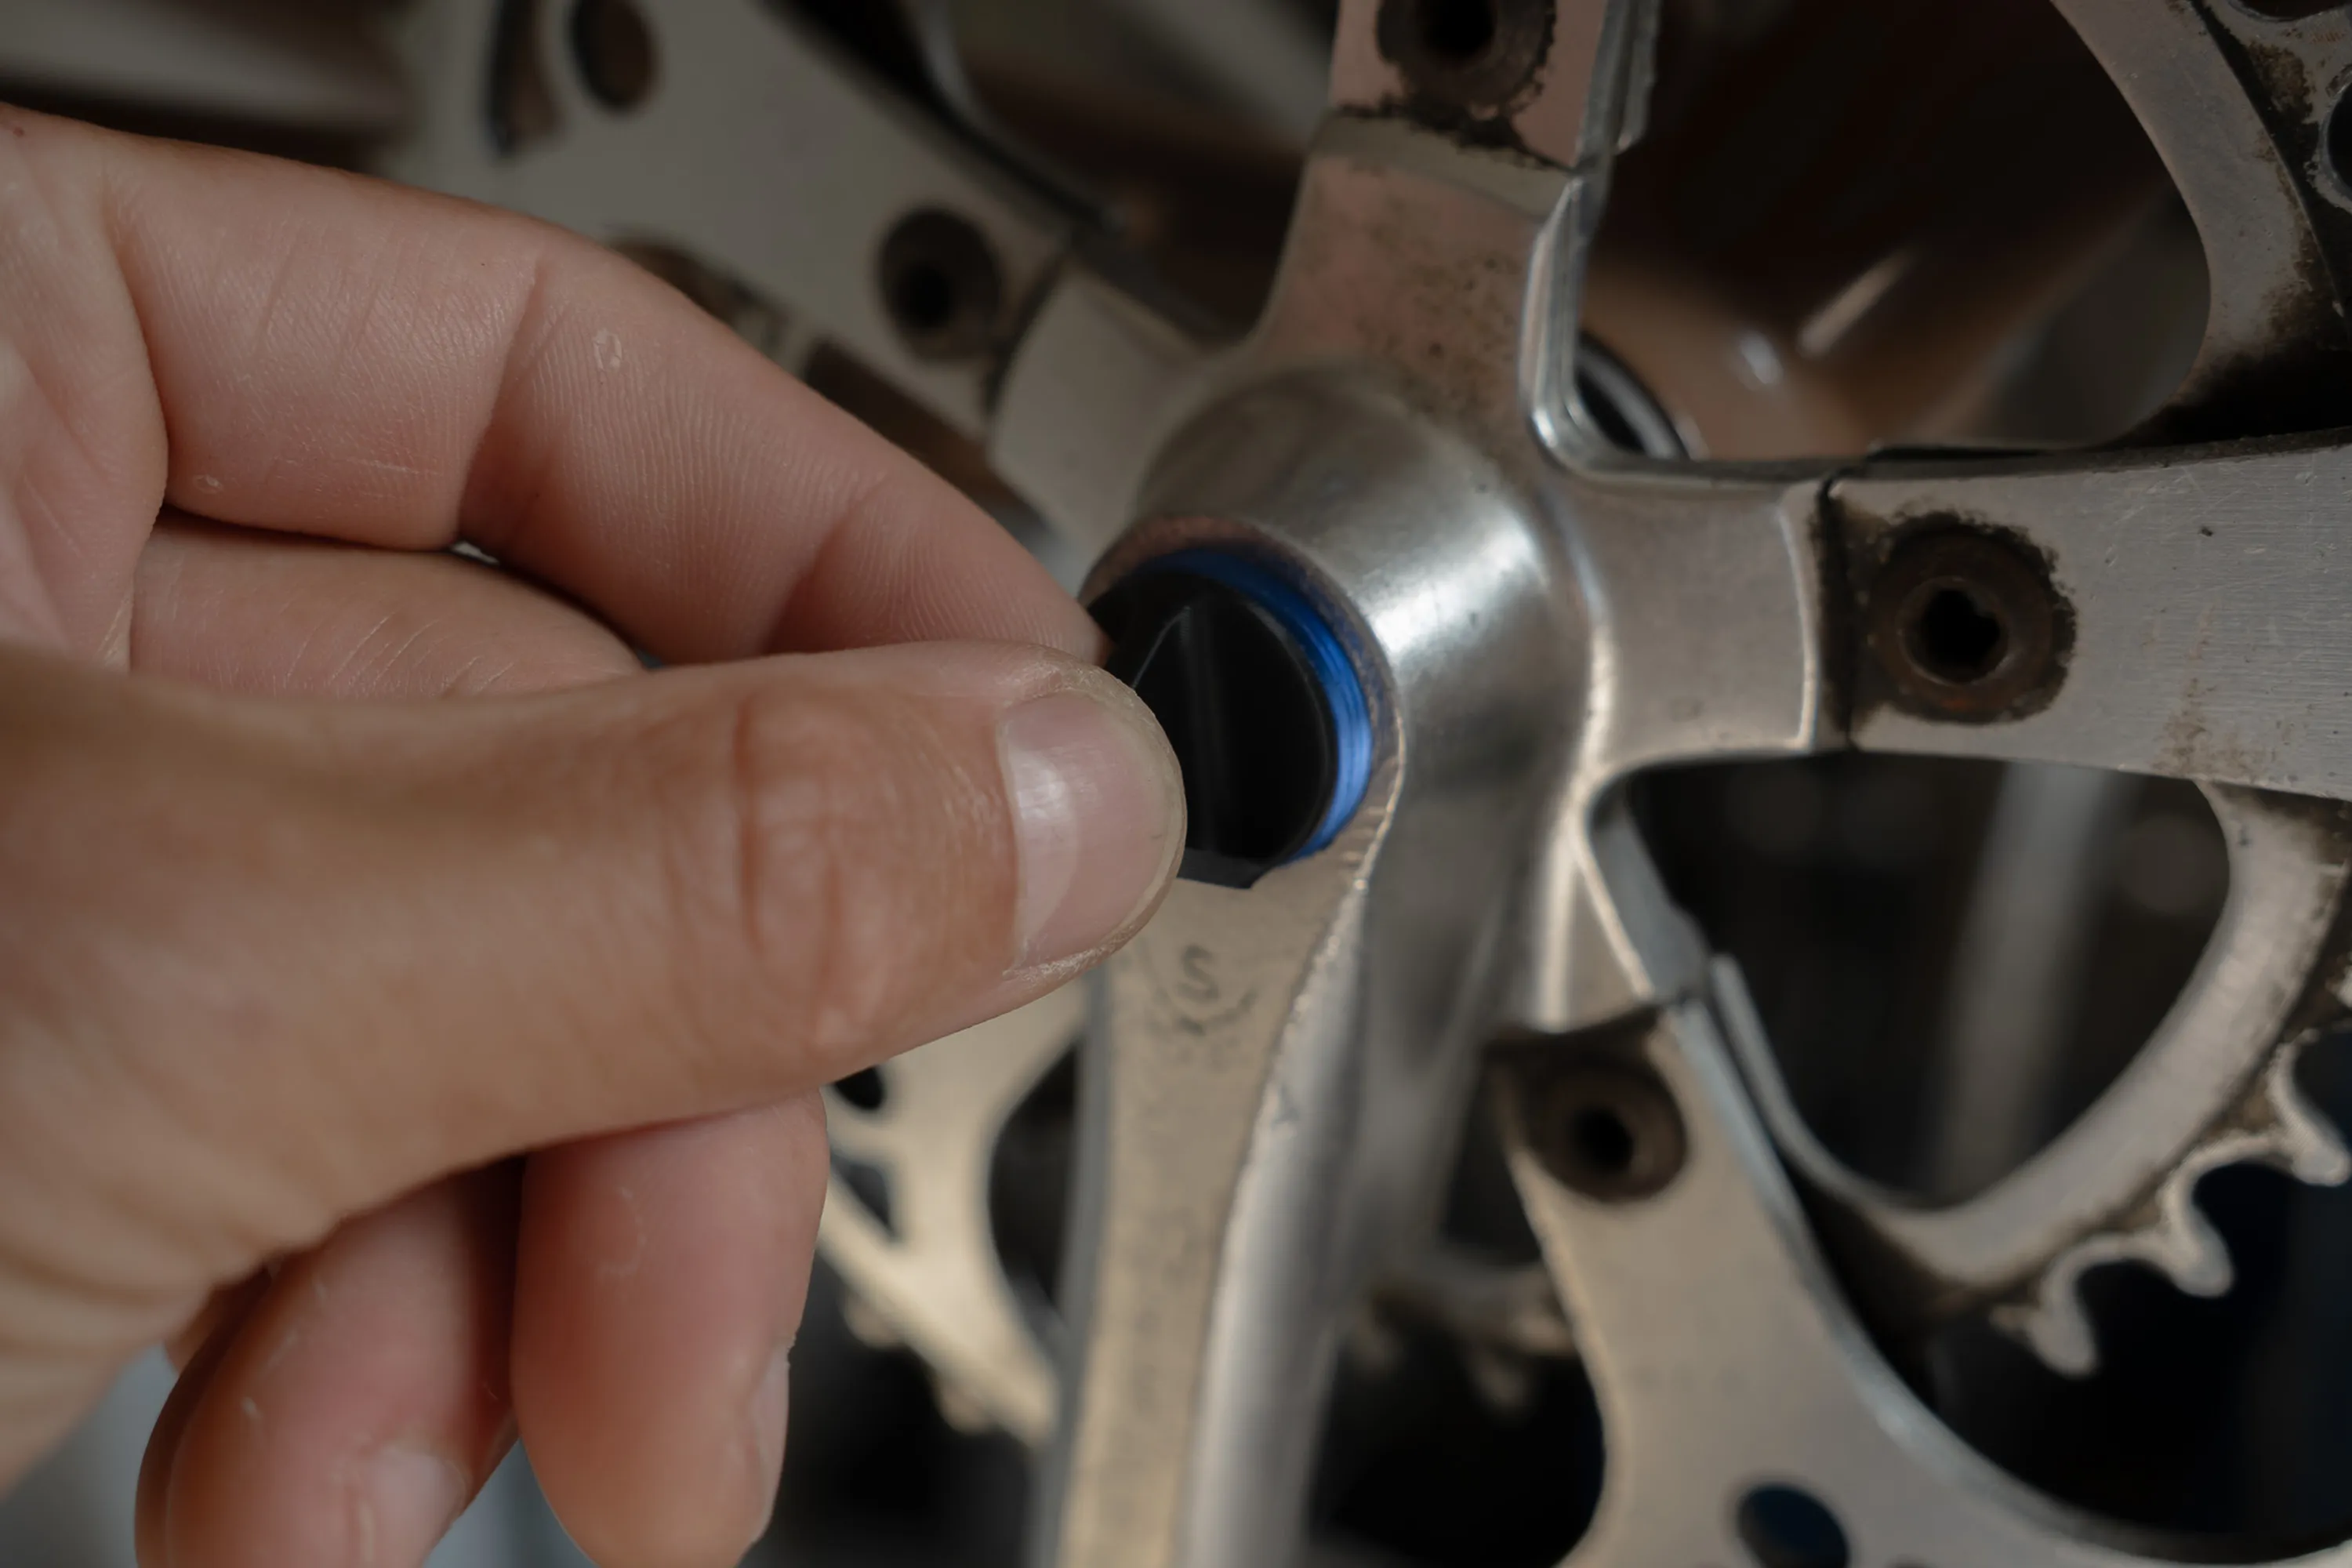
install the crankset cap
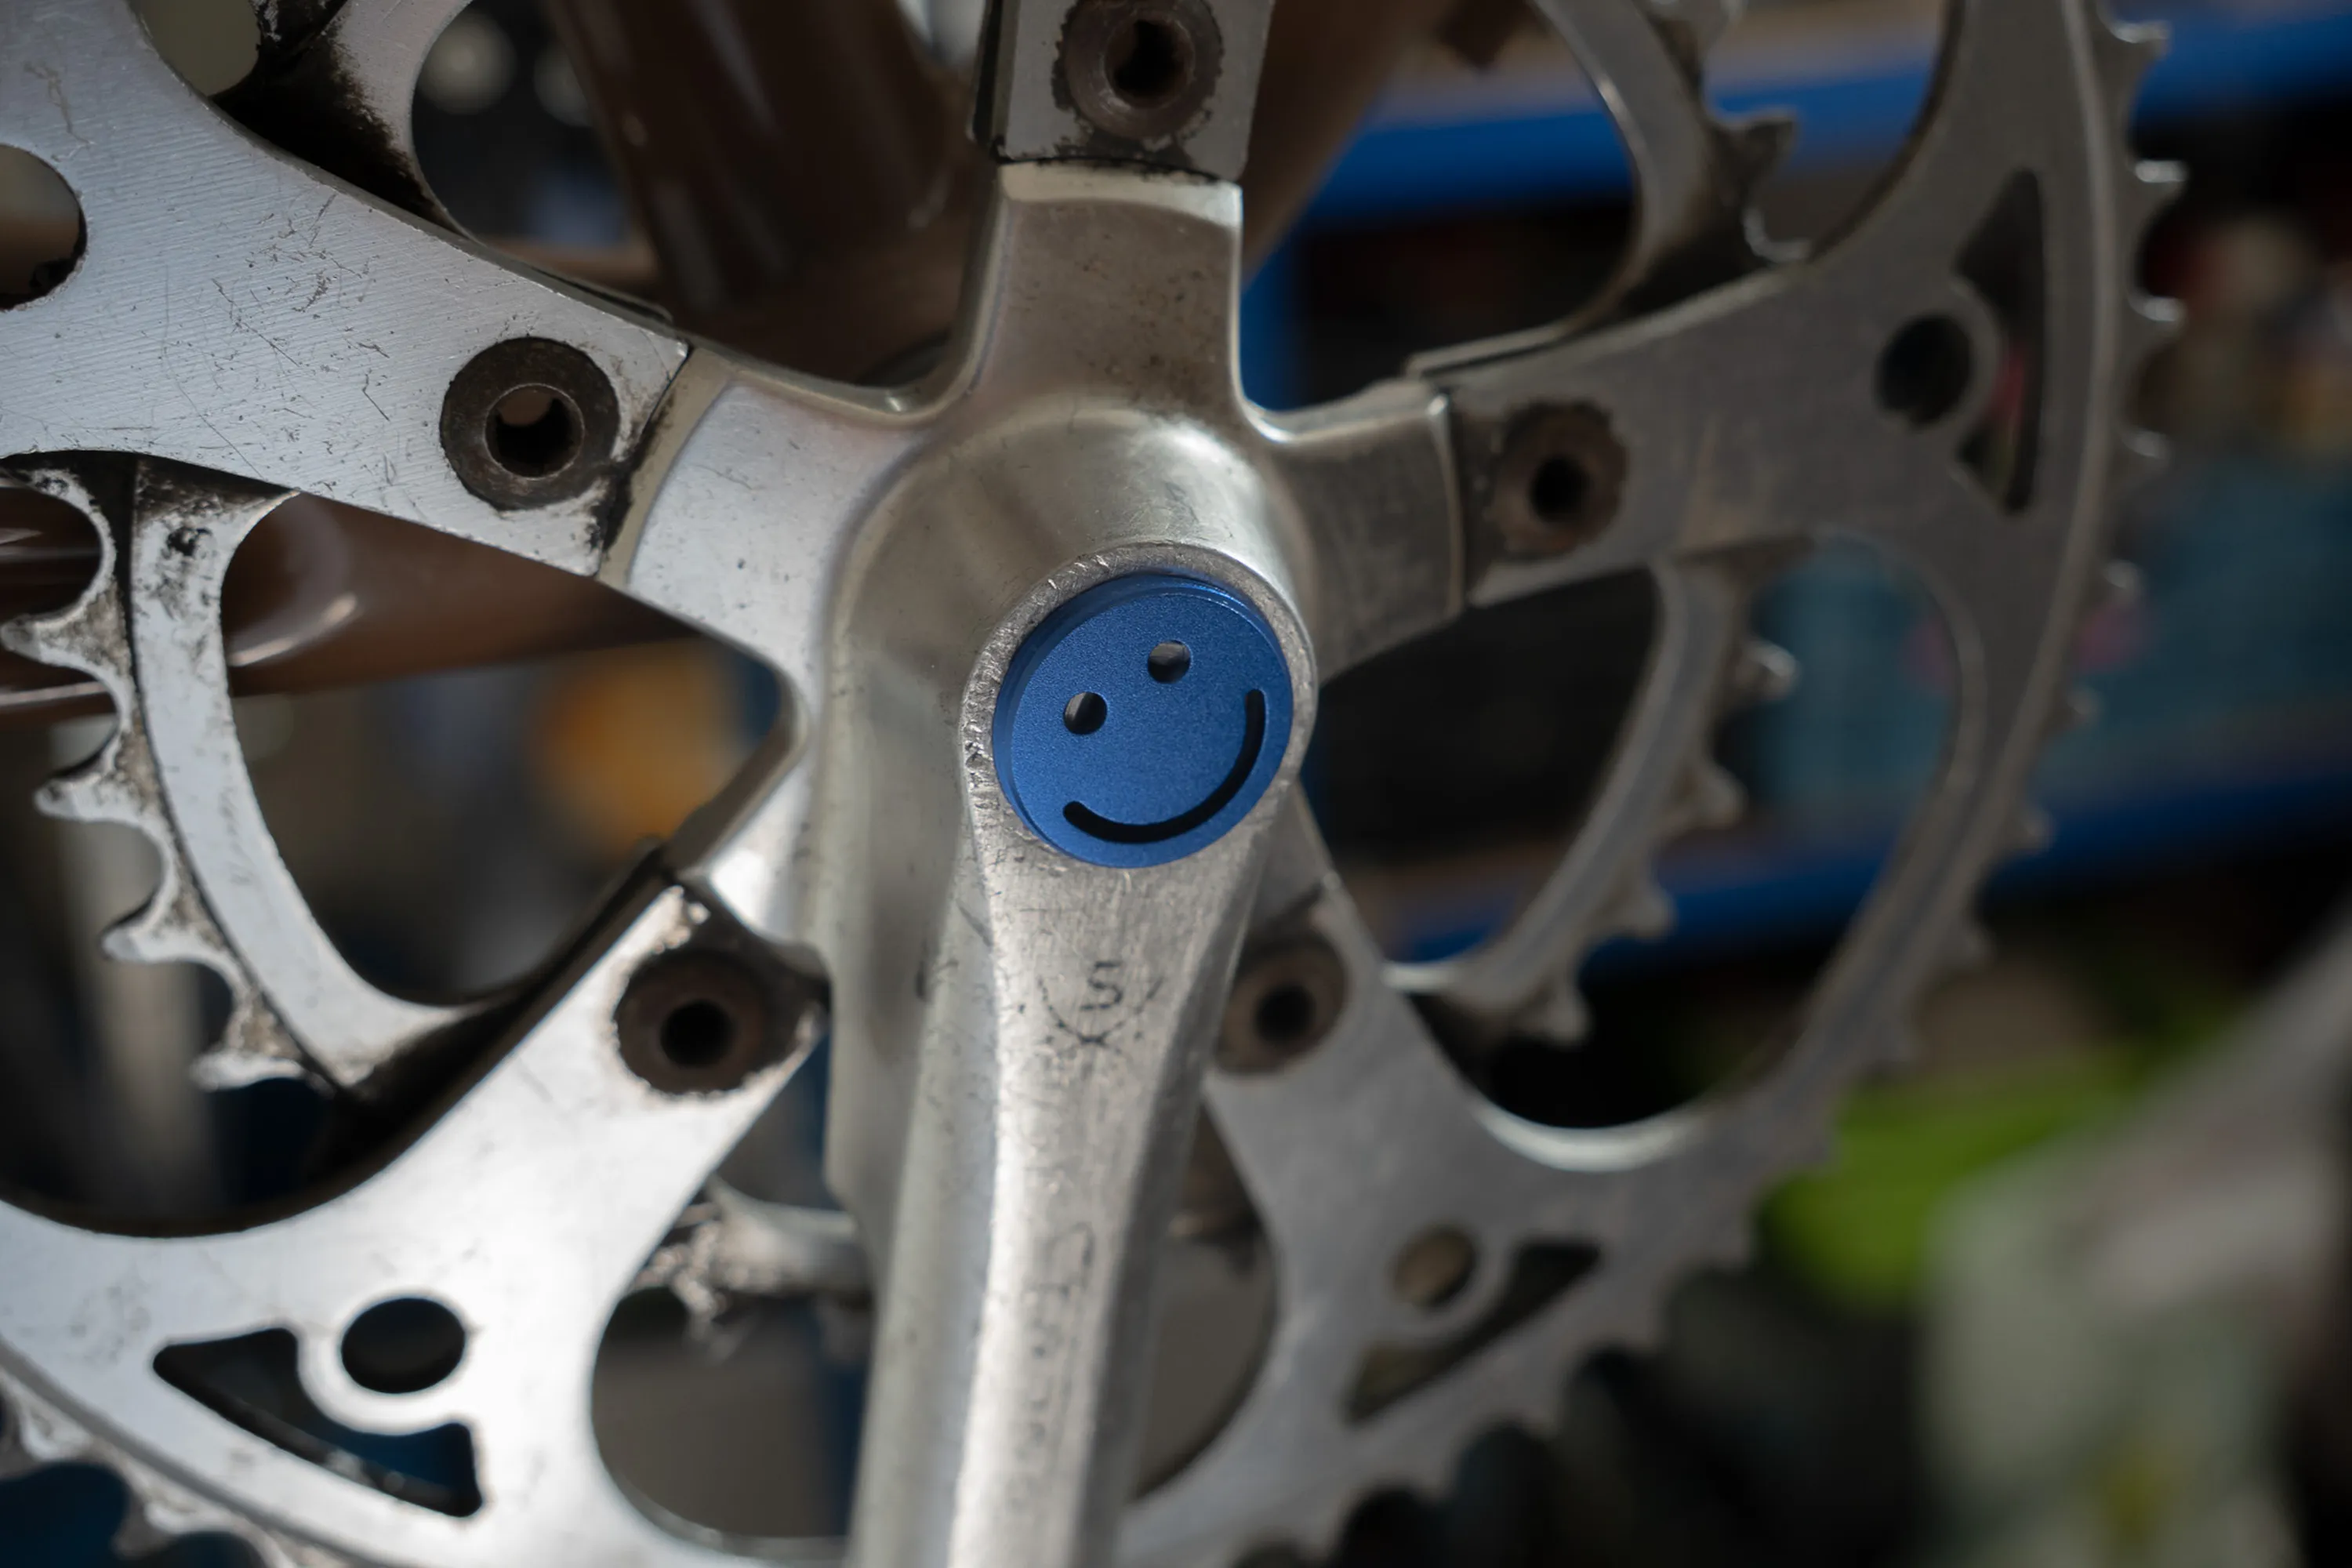
You can now use the tool provided with your caps to install the cap. Simpley screw it until you feel resistance and can no longer screw further.
Be careful not to cross thread! Make sure the cap is aligned with the thread and starts slowly, if it feels tight, remove the cap and inspect the threads.
I recommend putting some grease on the threads to prevent any seizing in the future.
Step 05
align the face
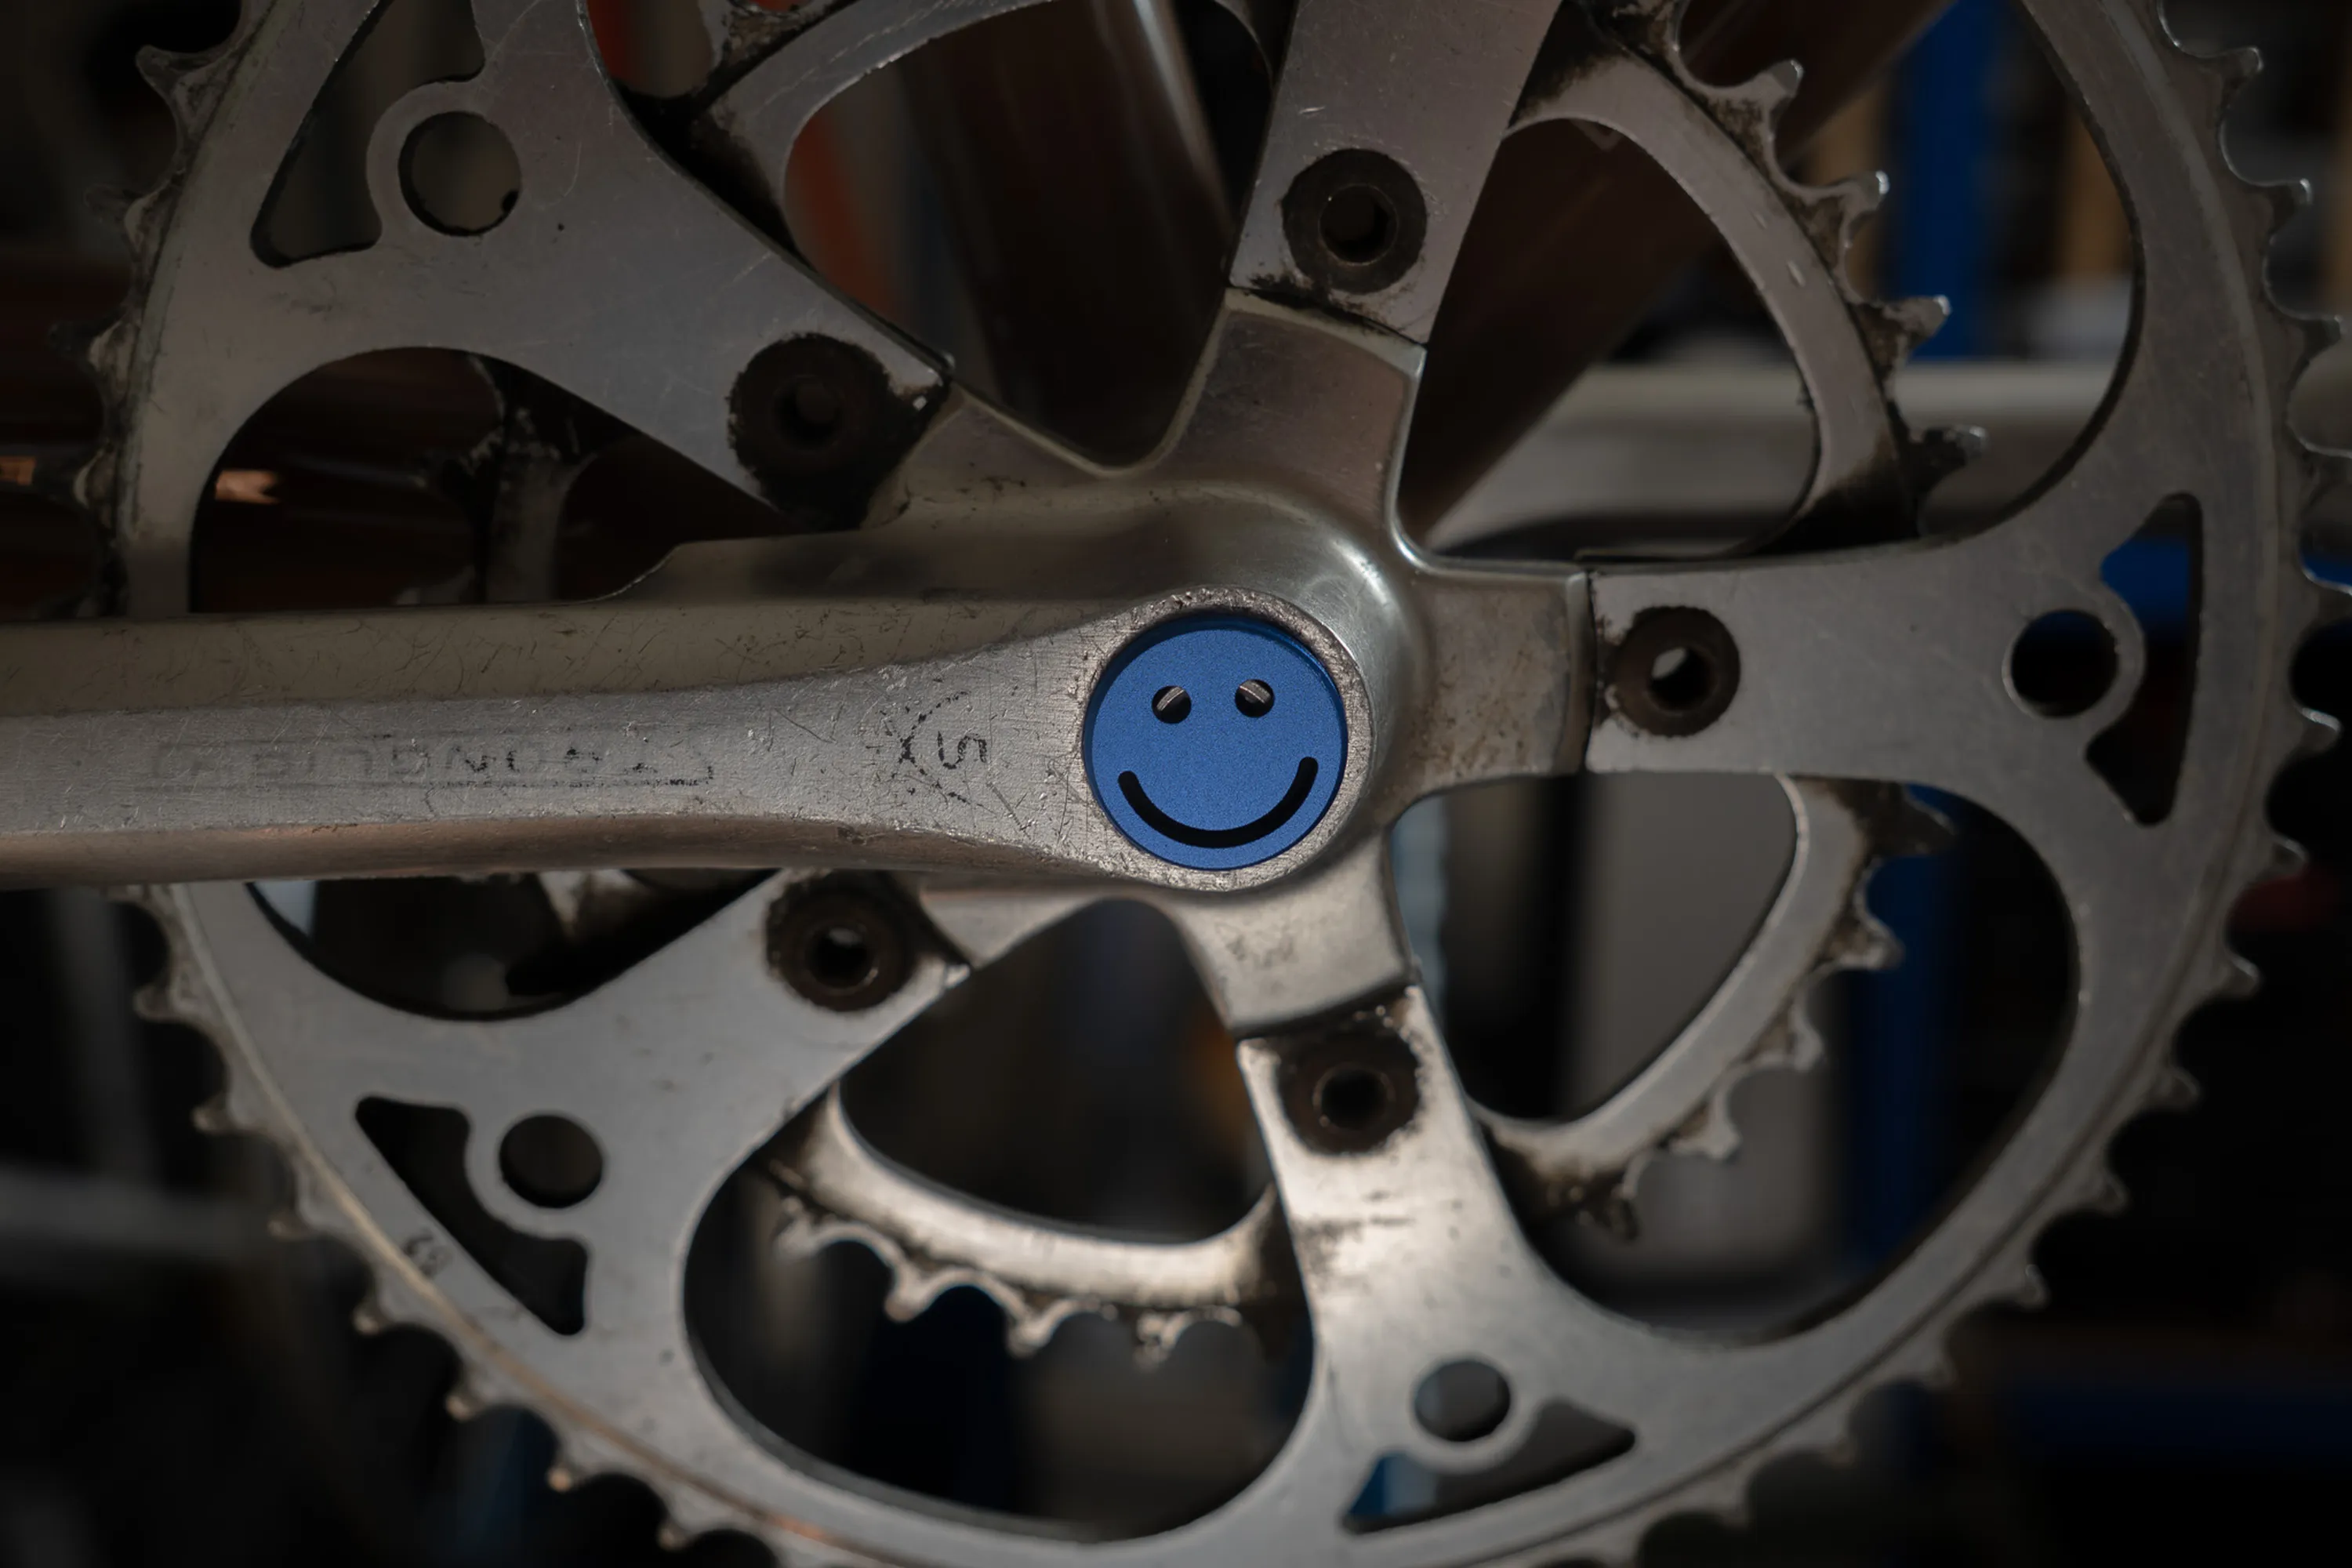
If you want a nice looking face align it with your crankset arm, simply readjust the smiley to be aligned how you want it.
With this type of bolt you cannot make the cap sit flush against the crankset. For a better look and fit, I recommend option 2 below.
dust cap style
Step 01
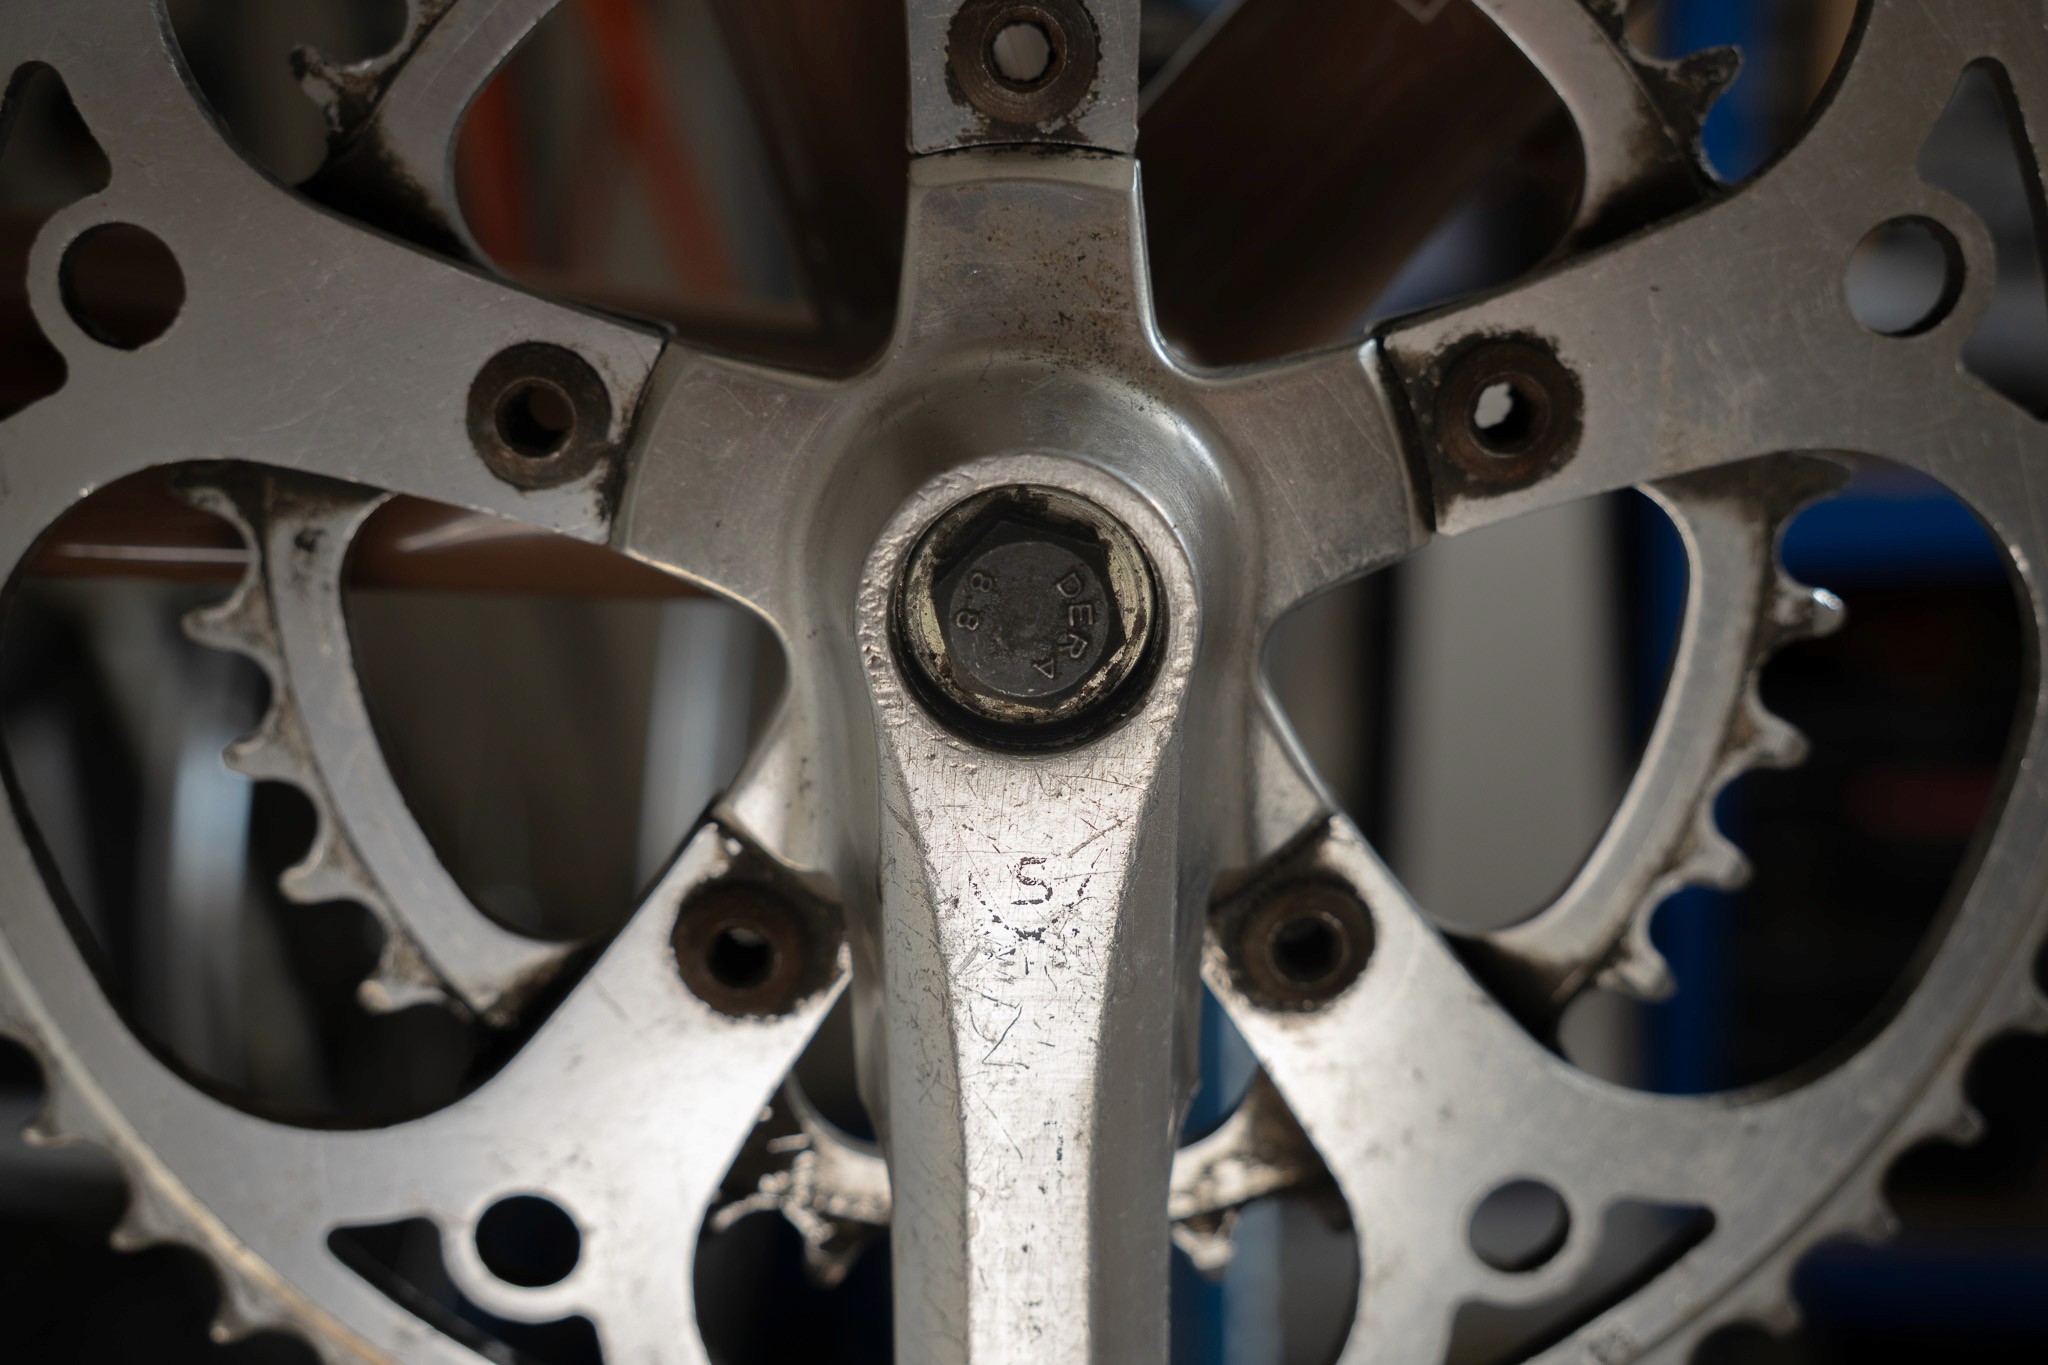
remove the dust cap
There is a lot of different dust caps types, some remove with an allen key, some need unscrewing with a screw driver or a 2 pin tool, or sometimes they are just pushed in and you pry it off with a screwdriver.


Step 02
install the crankset cap
You can now use the tool provided with your caps to install the cap. Simpley screw it until you feel resistance and can no longer screw further.
Be careful not to cross thread! Make sure the cap is aligned with the thread and starts slowly, if it feels tight, remove the cap and inspect the threads.
I recommend putting some grease on the threads to prevent any seizing in the future.
Step 03
align the face
If you want a nice looking face align it with your crankset arm, simply readjust the smiley to be aligned how you want it.
